I love to make cakes...but it takes a lot of motivation for me to make a cake simply because I think it's too much work to decorate and put it together. However, I got a brand new steel icing spatula and I couldn't wait to use it when putting on the icing (the icing spatula was amazing - it was the first time I felt satisfied with my icing job!).
When I felt like making a cake one day not too long ago, it didn't take long for me to decide it would be Red Velvet since it's something that people are always talking about and I never tried it. I wanted to see what all the hype was about. I have to admit, the first thing that attracted me to it was the deep red hue which contrasts brightly with the bright, white, rich cream cheese frosting.
So how did I feel about the cake? I didn't think it was worth so much of the effort I put into making it, not to mention I used up almost two whole bottles of red food coloring!!! Keep in mind that there are SO many recipes out there for this cake, and the recipe I used was a combination of several recipes. It didn't turn out so moist as I would have liked and the texture turned out pretty crumbly. (In my opinion, cakes should have a moist texture with tight crumbs.) Having said that, it was edible and my little 10 year old brother ate 3/4 of the entire cake, so at least someone really liked it. The recipe below is not the recipe which I used, but feel free to use it if you like. Here's the link: Red Velvet Cake Recipe. The pictures are all mine however =)

Ingredients:
- 2 1/2cups (250 grams) sifted cake flour
- 1/2 teaspoon salt
- 2 tablespoons (15 grams) regular or Dutch-processed cocoa powder
- 1/2 cup (113 grams) unsalted butter, at room temperature
- 1 1/2 cups (300 grams) granulated white sugar
- 1 teaspoon pure vanilla extract
- 1 cup (240 ml) buttermilk
- 2 tablespoons liquid red food coloring
- 1 teaspoon white distilled vinegar
- 1 teaspoon baking soda
For the frosting, see step 9.
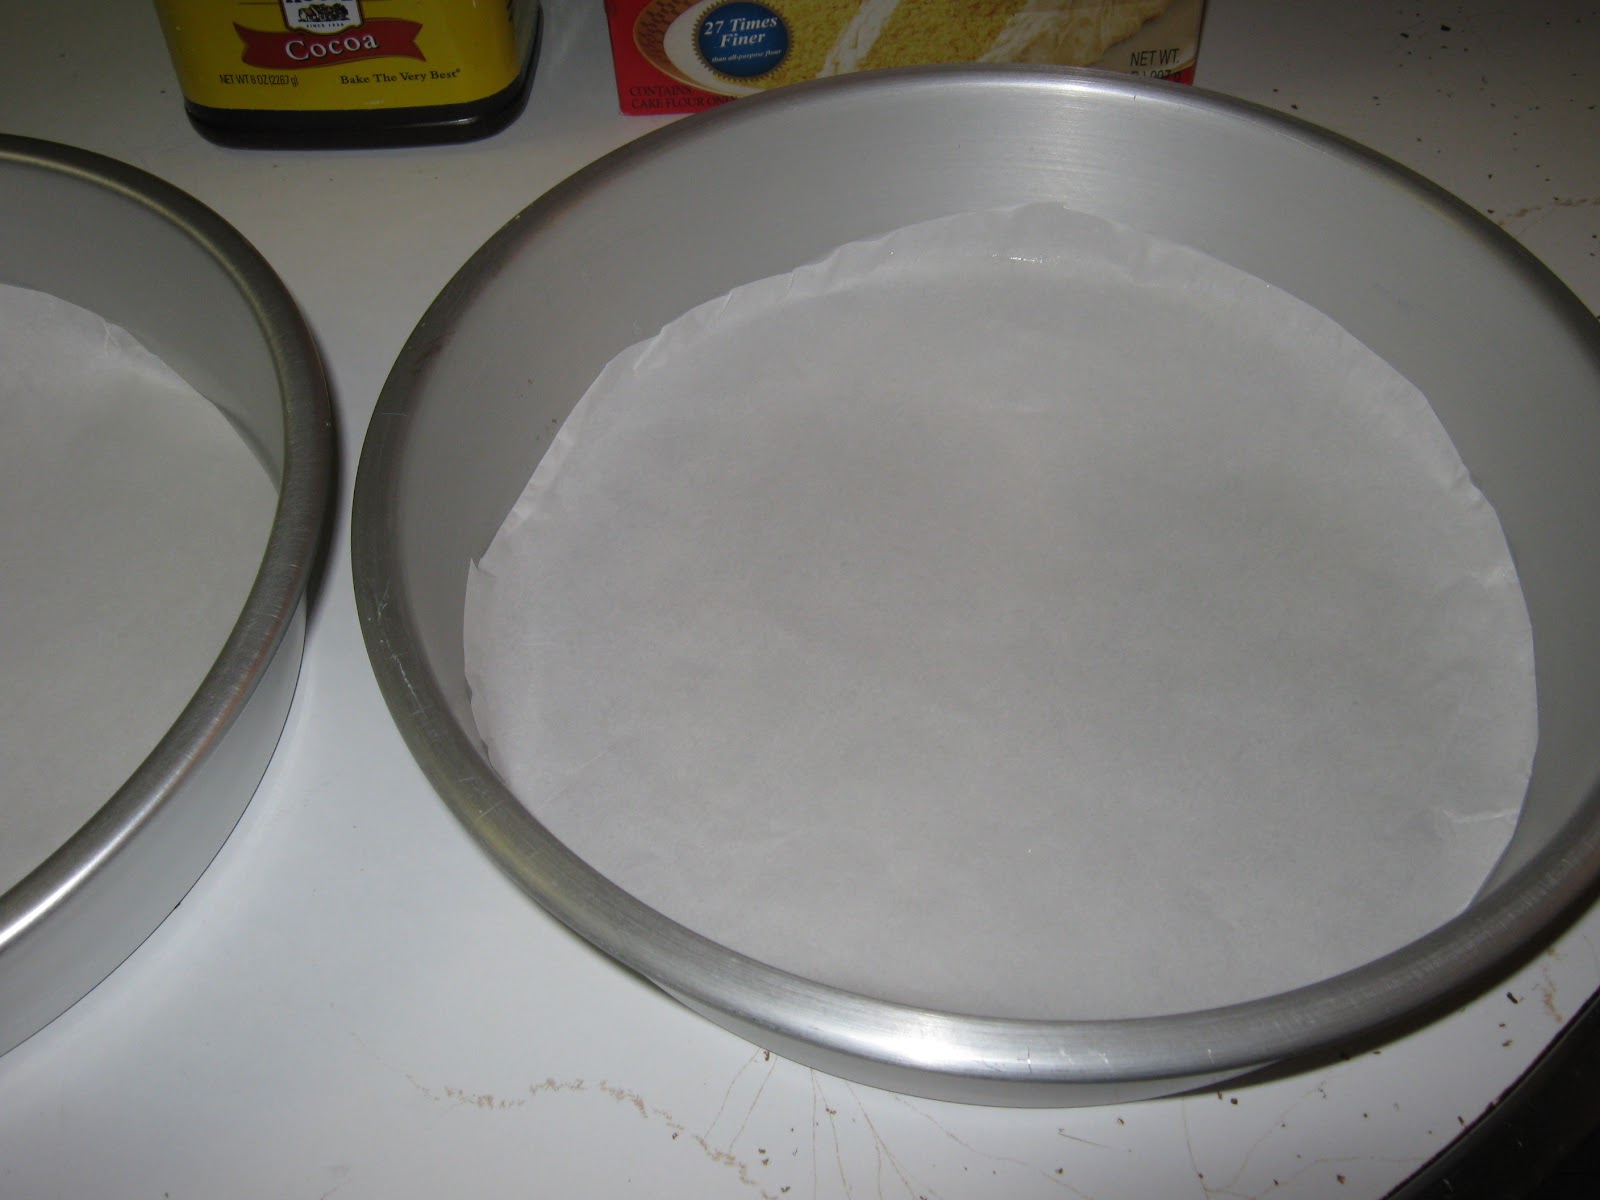
1. Preheat oven to 350 degrees F (175 degrees C) and place rack in center of oven. Butter two - 9 inch (23 cm) round cake pans and line the bottoms of the pans with parchment paper. Set aside.


5. In a measuring cup whisk the buttermilk with the red food coloring. With the mixer on low speed, alternately add the flour mixture and buttermilk to the butter mixture, in three additions, beginning and ending with the flour.


2. In a mixing bowl sift together the flour, salt, and cocoa powder. Set aside.


3. In bowl of your electric mixer, or with a hand mixer, beat the butter until soft (about 1-2 minutes). Add the sugar and beat until light and fluffy (about 2-3 minutes). Add the eggs, one at a time, beating well after each addition.


3. In bowl of your electric mixer, or with a hand mixer, beat the butter until soft (about 1-2 minutes). Add the sugar and beat until light and fluffy (about 2-3 minutes). Add the eggs, one at a time, beating well after each addition.

4. Scrape down the sides of the bowl. Add the vanilla extract and beat until combined.
5. In a measuring cup whisk the buttermilk with the red food coloring. With the mixer on low speed, alternately add the flour mixture and buttermilk to the butter mixture, in three additions, beginning and ending with the flour.


6. In a small cup combine the vinegar and baking soda. Allow the mixture to fizz and then quickly fold into the cake batter.


7. Working quickly, divide the batter evenly between the two prepared pans and smooth the tops with an offset spatula or the back of a spoon.

8. Bake in the preheated oven for approximately 25 - 30 minutes, or until a toothpick inserted in the center of the cakes comes out clean. Cool the cakes in their pans on a wire rack for 10 minutes. Place a wire rack on top of the cake pan and invert, lifting off the pan. Once the cakes have completely cooled, wrap in plastic and place the cake layers in the refrigerator for at least an hour (or overnight). (This is done to make filling and frosting the cakes easier.)


9. For the frosting, I used the following recipe -
Ingredients:
- 1 lb cream cheese (2 packages)
- 2 cups icing sugar
- 2 sticks unsalted butter (softened)
- 1 tsp vanilla
- 1 cup whipping cream

In a standing mixer fitted with the paddle attachment, or with a hand-held electric mixer in a large bowl, mix the cream cheese, sugar, and butter on low speed until incorporated. Slowly beat in the vanilla and then the cream, and mix until light and fluffy (or thick enough to spread). Store in the refrigerator until somewhat stiff, before using. Add sugar or cream as needed to get the right consistency.
10. To assemble the cake, with a serrated knife, cut each cake layer in half, horizontally. You will now have four cake layers. (Or you can just make a two layer cake and not slice each cake in half - just make sure you straighten the top of the cake if needed by slicing the top off - you can use the crumbs like I did to decorate the cake in the end.) Place one of the cake layers top down, onto your serving platter. Spread the cake layer with a layer of frosting.

Place another layer of cake on top of the frosting and continue to frost and stack the cake layers. Frost the top and sides of the cake.

Garnish with cake crumbs or any other decoration you like. (I also used a piping bag and star-shaped tip to pipe designs with the frosting to make it look pretty.)


0 Comments:
Post a Comment