Aaaand I made the Chocolate Cake again. For more information, please see my post Chocolate Cake and Chocolate Cake Part 2. Just for fun, I wanted to post up the pictures of this third one I made filled and decorated only with chocolate frosting this time. However, for the decoration, I also used pearls and gold dust to create a festive look since I made it for Eid-al-Adha. (I used a 1M star tip from Wilton to pipe the roses on top of the cake.) I'll probably make this cake again in the future because it is simply the best chocolate cake recipe EVER. So be on the lookout for more posts and different decorations :)
Showing posts with label Cakes. Show all posts
Sunday, November 25, 2012
Thursday, September 13, 2012
Chocolate Cake Part 2
I made the chocolate cake again that I made previously and posted about on my blog. Here's the recipe from the Food Network website where I originally got it from: http://www.foodnetwork.com/recipes/ina-garten/beattys-chocolate-cake-recipe/index.html, and here is my previous post on it: http://www.bakingwithz.blogspot.com/2012/01/chocolate-cake-well-sort-of.html. Beatty's Chocolate Cake turned out just as amazing this time around if not better. I can almost swear that it's the best chocolate cake recipe out there!!!
The reason why I'm doing ANOTHER post on this cake is because I did not use the same frosting recipe from the Food Network website. Also, I decorated my cake differently. (No chocolate curls!) This time, I used a chocolate buttercream frosting recipe from the following website: http://savorysweetlife.com/2011/04/chocolate-buttercream-frosting/. This is an AMAZING frosting...not too chocolatey, not too sweet, and smooth and creamy. The recipe can be found below.
The important note I would like to add is that for this particular cake, I changed up the frosting a little bit. From the chocolate recipe, I took out one third of the frosting BEFORE I added the cocoa powder. That left me with some vanilla frosting. After I took out some vanilla frosting, I reduced the amount of cocoa it says in the recipe and added it to the rest of the frosting mixture. For the decoration of the cake, I basically filled the inside of the cake with the chocolate frosting, and then I covered the outside with most of what was remaining (leaving a little bit aside to pipe some flowers). Finally, I piped some designs and flowers with the vanilla frosting I put aside and the remaining chocolate frosting. To make it look pretty, I even added edible pearls (It's an appropriate addition for a celebratory occasion such as an engagement or anniversary!)
Here's another view of the final product:
Chocolate Frosting Recipe:
ENJOY! :)
The reason why I'm doing ANOTHER post on this cake is because I did not use the same frosting recipe from the Food Network website. Also, I decorated my cake differently. (No chocolate curls!) This time, I used a chocolate buttercream frosting recipe from the following website: http://savorysweetlife.com/2011/04/chocolate-buttercream-frosting/. This is an AMAZING frosting...not too chocolatey, not too sweet, and smooth and creamy. The recipe can be found below.
The important note I would like to add is that for this particular cake, I changed up the frosting a little bit. From the chocolate recipe, I took out one third of the frosting BEFORE I added the cocoa powder. That left me with some vanilla frosting. After I took out some vanilla frosting, I reduced the amount of cocoa it says in the recipe and added it to the rest of the frosting mixture. For the decoration of the cake, I basically filled the inside of the cake with the chocolate frosting, and then I covered the outside with most of what was remaining (leaving a little bit aside to pipe some flowers). Finally, I piped some designs and flowers with the vanilla frosting I put aside and the remaining chocolate frosting. To make it look pretty, I even added edible pearls (It's an appropriate addition for a celebratory occasion such as an engagement or anniversary!)
Here's another view of the final product:
Chocolate Frosting Recipe:
Ingredients
- 1 cup unsalted butter (2 sticks or 1/2 pound), softened (but not melted!)
- 3 1/2 cups confectioners (powdered) sugar
- 1/2 cup cocoa powder
- 1/2 teaspoon table salt
- 2 teaspoons vanilla extract or 1 teaspoon almond extract
- 4 tablespoons milk or heavy cream
Instructions
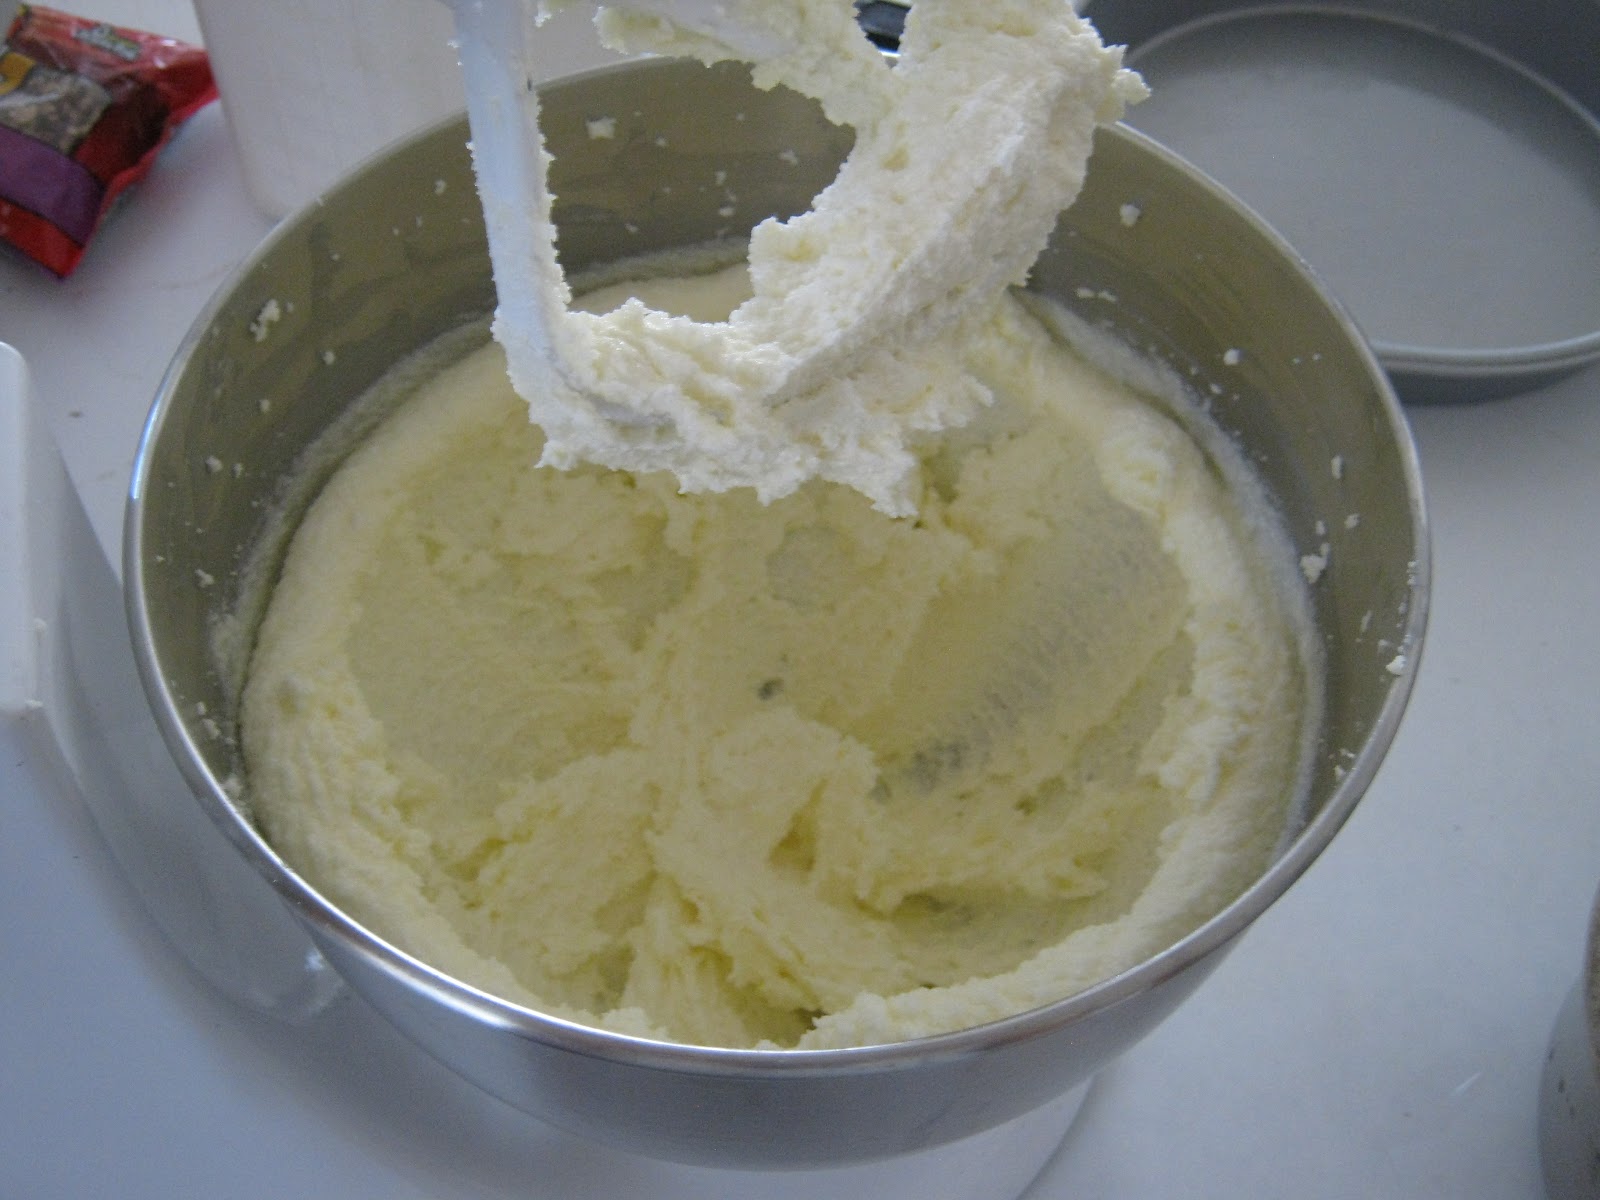
- Cream butter for a few minutes in a mixer with the paddle attachment on medium speed. Turn off the mixer.
- Sift 3 cups powdered sugar and cocoa into the mixing bowl. Turn your mixer on the lowest speed (so the dry ingredients do not blow everywhere) until the sugar and cocoa are absorbed by the butter.
- Increase mixer speed to medium and add vanilla extract, salt, and milk/cream and beat for 3 minutes. (If your frosting needs a more stiff consistency, add a little more sugar. If your frosting needs to be thinned out, add additional milk 1 tablespoon at a time.)
ENJOY! :)
Thursday, July 26, 2012
Banana Pecan Torte
I know it's been awhile, and I apologize to those of you who like to take the time to come here and look for new recipes! It's great to be back, baking something new to share with everyone!
To start off, as mentioned in my earlier banana-related posts, I'm sure there's many of us out there who seem to have ripening bananas that we can't get rid of any faster. And I'm also pretty sure there are many of us out there who are sick of using them to make banana bread!
Well, I was going through one of my recipe books, The Taste of Home Baking Book, and went through the index looking for all things starting with banana to try and change things up. When I turned to the page of this recipe, the first thing that caught my eye was the picture of the 3-layer cake. Anything with layers and frosting makes me excited because it looks impressive. Well I'm happy to say, that it not only looks good, it tastes good too! The torte turned out to be moist and there were just the right amount of pecans. The cream cheese frosting was not so strong because it was mixed with butter, and the frosting really complemented the banana flavor of the cake. If you're not a fan of pecans or you don't have any, you can always substitute with walnuts and it would taste just as amazing!
Ingredients:
To start off, as mentioned in my earlier banana-related posts, I'm sure there's many of us out there who seem to have ripening bananas that we can't get rid of any faster. And I'm also pretty sure there are many of us out there who are sick of using them to make banana bread!
Well, I was going through one of my recipe books, The Taste of Home Baking Book, and went through the index looking for all things starting with banana to try and change things up. When I turned to the page of this recipe, the first thing that caught my eye was the picture of the 3-layer cake. Anything with layers and frosting makes me excited because it looks impressive. Well I'm happy to say, that it not only looks good, it tastes good too! The torte turned out to be moist and there were just the right amount of pecans. The cream cheese frosting was not so strong because it was mixed with butter, and the frosting really complemented the banana flavor of the cake. If you're not a fan of pecans or you don't have any, you can always substitute with walnuts and it would taste just as amazing!
Ingredients:
- 1 cup butter, softened
- 2 1/2 cups sugar
- 4 eggs
- 2 cups mashed ripe bananas (about 3-4 medium)
- 2 tsp vanilla flavoring
- 3 1/2 cups all-purpose flour
- 2 tsp baking soda
- 3/4 tsp salt
- 1/2 cup buttermilk
- 1 cup chopped pecans
Frosting:
- 1 package (8 oz) cream cheese, softened
- 1/2 cup butter, softened
- 3 1/2 cups confectioners' sugar
- 1 tsp vanilla flavoring
Topping:
- Toasted chopped pecans
1. In a mixing bowl, cream butter and sugar until light and fluffy.
2. Add the eggs, one at a time, beating well after each addition.
3. Beat in bananas and vanilla.
| You may need to use more or less bananas depending on their size. Make sure you have 2 cups! I had to use about 4 medium sized bananas. |
4. Combine the flour, baking soda, and salt; add to the creamed mixture alternately with buttermilk.
5. Stir in pecans.
| Make sure to toast your pecans for a few minutes in the oven at about 300 degrees F. Do not leave them any longer than a few minutes because nuts get burned very quickly! |
6. Pour into three greased and floured 9-inch round baking pans. Bake at 350 degrees F for 30-35 minutes or until a toothpick inserted near the center comes out clean.
| These have been greased with butter and lightly floured. |
| Make sure you fill all 3 cake pans evenly! |
7. Cool for 10 minutes before removing from pans to wire racks to cool completely.
8. For the frosting, beat the cream cheese, butter, and sugar in a small mixing bowl. Add vanilla. Spread between the layers and over the top of the cake. Sprinkle with pecans. Store in the refrigerator.
Saturday, January 28, 2012
Chocolate Cake (well, sort of)
I've made chocolate cake before with vanilla frosting, but never with chocolate frosting. Recently, it was my brother's birthday and I decided to make him a nice, simple chocolate cake and then dress it up on the top. Well, on my long and hard search for a recipe (haha...not really...I just clicked on the first website in the search), which was basically Googling "Best Chocolate Cake Recipe," I came upon this: Beatty's Chocolate Cake Recipe from the Food Network. Since this recipe had thousands of good reviews, I thought I'd give it a try. I have 2 things to say. First, this cake has an AMAZING texture...just how a cake should be...soft, moist, and tight-crumbed....the kind you get when you use a mix, but of course this is all made from scratch. I think the fact that it uses oil instead of butter as well as buttermilk has a lot to do with it.
The interesting thing about this recipe is that it uses coffee as part of the flavoring in the cake and the frosting, which brings me to the second point. In the cake, you can't really taste the coffee and it's used to actually bring out the chocolate flavor more. However, for the frosting, it turned out to be more of a strong coffee-flavored buttercream than a chocolate one. Now me being a coffee lover, that's not a problem at all. But for people who aren't, this may pose a problem. So then, I would just recommend omitting the coffee. What confuses me then, is why label this recipe a "Chocolate Cake" recipe? The title is certainly deceiving. But, other than that, I have no other criticism, so enjoy making it because it will definitely be my go-to chocolate cake recipe from now on.
Oh...can't forget my own touch that I added to the cake...when decorating, make it more delicious by adding white and/or milk chocolate curls! I also added decorating pearls and gold flakes to make it look fancy. To learn how to make chocolate curls/shavings, watch this video How to make chocolate curls OR this video Making chocolate shavings. I use the method from the second video, but I tend to angle my metal spatula in a way that will allow me to get more curls than shavings. White Chocolate is much harder to deal with because of its texture, and you're probably going to end up getting shavings more than curls like I did.
The interesting thing about this recipe is that it uses coffee as part of the flavoring in the cake and the frosting, which brings me to the second point. In the cake, you can't really taste the coffee and it's used to actually bring out the chocolate flavor more. However, for the frosting, it turned out to be more of a strong coffee-flavored buttercream than a chocolate one. Now me being a coffee lover, that's not a problem at all. But for people who aren't, this may pose a problem. So then, I would just recommend omitting the coffee. What confuses me then, is why label this recipe a "Chocolate Cake" recipe? The title is certainly deceiving. But, other than that, I have no other criticism, so enjoy making it because it will definitely be my go-to chocolate cake recipe from now on.
Oh...can't forget my own touch that I added to the cake...when decorating, make it more delicious by adding white and/or milk chocolate curls! I also added decorating pearls and gold flakes to make it look fancy. To learn how to make chocolate curls/shavings, watch this video How to make chocolate curls OR this video Making chocolate shavings. I use the method from the second video, but I tend to angle my metal spatula in a way that will allow me to get more curls than shavings. White Chocolate is much harder to deal with because of its texture, and you're probably going to end up getting shavings more than curls like I did.
Ingredients
- Butter, for greasing the pans
- 1 3/4 cups all-purpose flour, plus more for pans
- 2 cups sugar
- 3/4 cups good cocoa powder
- 2 teaspoons baking soda
- 1 teaspoon baking powder
- 1 teaspoon kosher salt
- 1 cup buttermilk, shaken
- 1/2 cup vegetable oil
- 2 extra-large eggs, at room temperature
- 1 teaspoon pure vanilla extract
- 1 cup freshly brewed hot coffee
- Chocolate Buttercream, recipe follows
Directions
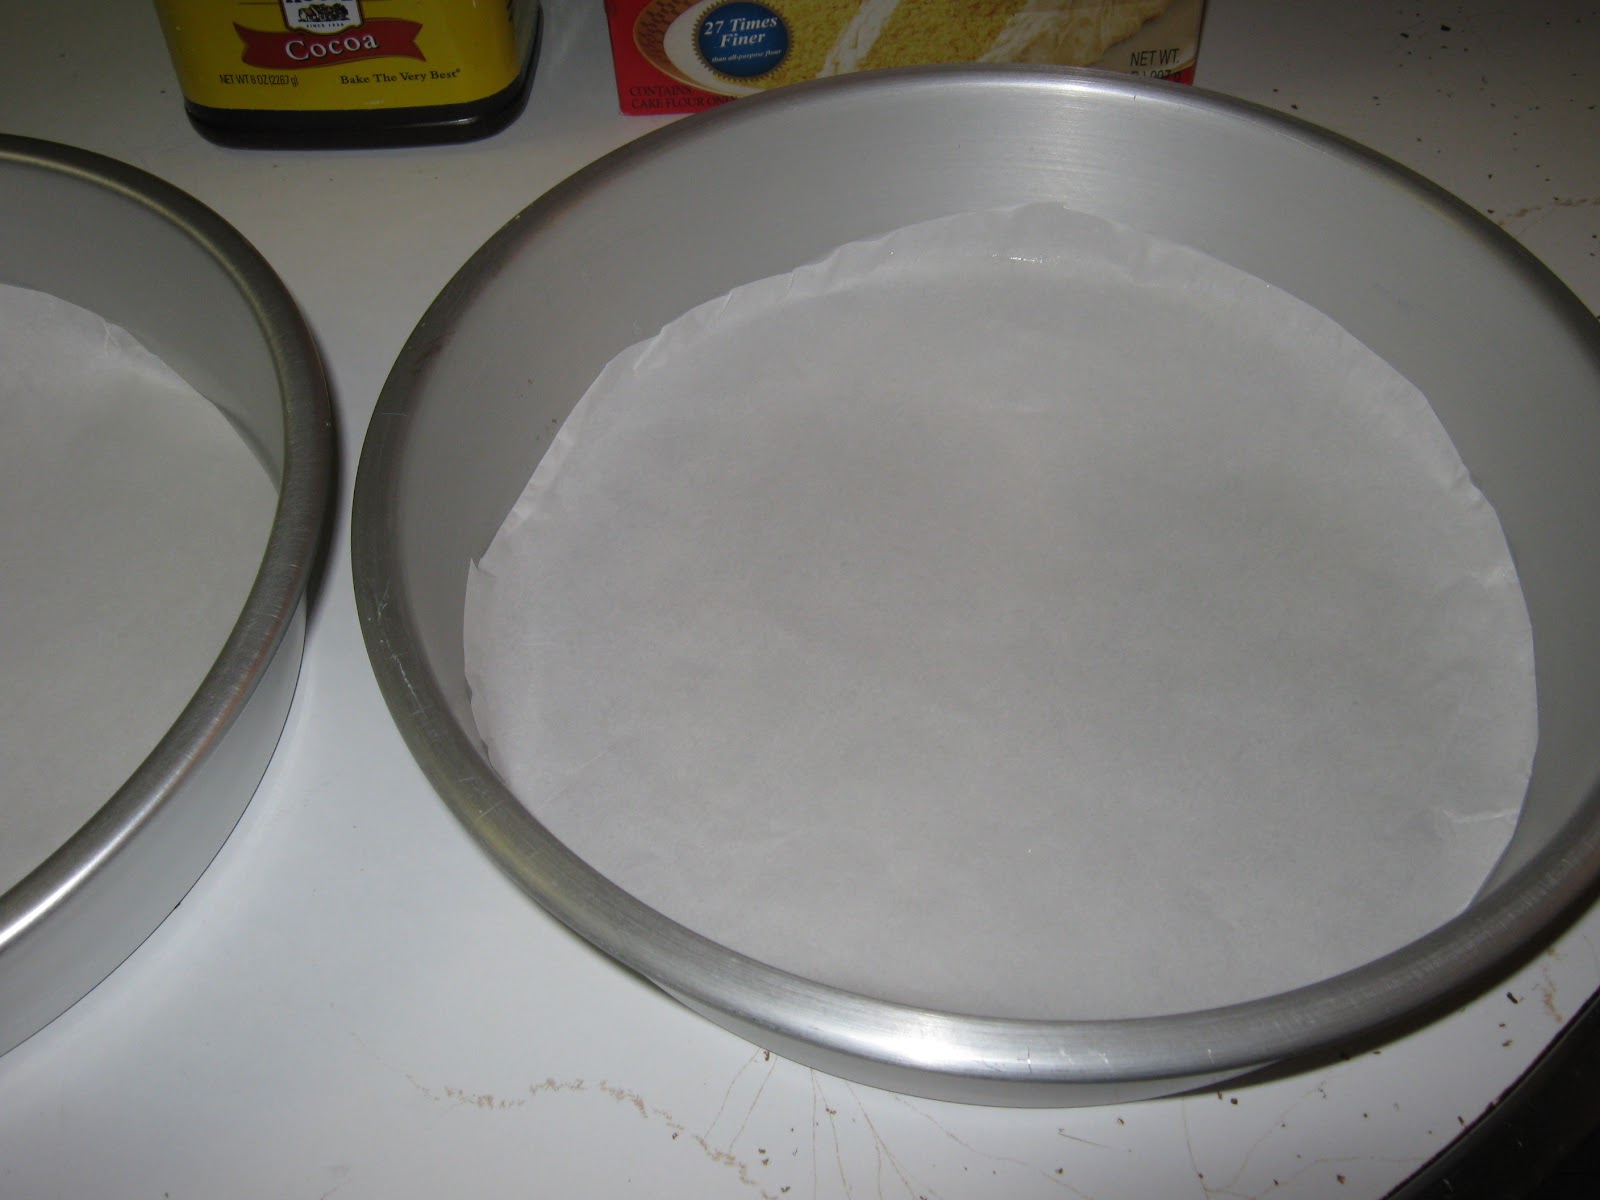
Preheat the oven to 350 degrees F. Butter two 8-inch x 2-inch roundcake pans. Line with parchment paper, then butter and flour the pans.
Sift the flour, sugar, cocoa, baking soda, baking powder, and salt into the bowl of an electric mixer fitted with a paddle attachment and mix on low speed until combined. In another bowl, combine the buttermilk, oil, eggs, and vanilla. With the mixer on low speed, slowly add the wet ingredients to the dry. With mixer still on low, add the coffee and stir just to combine, scraping the bottom of the bowl with a rubberspatula. Pour the batter into the prepared pans and bake for 35 to 40 minutes, until a cake tester comes out clean. Cool in the pans for 30 minutes, then turn them out onto a cooling rack and cool completely.
Place 1 layer, flat side up, on a flat plate or cake pedestal. With a knife or offset spatula, spread the top with frosting. Place the second layer on top, rounded side up, and spread the frosting evenly on the top and sides of the cake.
Chocolate Frosting:
- 6 ounces good semisweet chocolate (recommended: Callebaut)
- 1/2 pound (2 sticks) unsalted butter, at room temperature
- 1 extra-large egg yolk, at room temperature
- 1 teaspoon pure vanilla extract
- 1 1/4 cups sifted confectioners' sugar
- 1 tablespoon instant coffee powder
Chop the chocolate and place it in a heat-proof bowl set over a pan of simmering water. Stir until just melted and set aside until cooled to room temperature.
In the bowl of an electric mixer fitted with a paddle attachment, beat the butter on medium-high speed until light yellow and fluffy, about 3 minutes. Add the egg yolk and vanilla and continue beating for 3 minutes. Turn the mixer to low, gradually add the confectioners' sugar, then beat at medium speed, scraping down the bowl as necessary, until smooth and creamy. Dissolve the coffee powder in 2 teaspoons of the hottest tap water. On low speed, add the chocolate and coffee to the butter mixture and mix until blended. Don't whip! Spread immediately on the cooled cake.
Wednesday, November 24, 2010
Red Velvet Cake
I love to make cakes...but it takes a lot of motivation for me to make a cake simply because I think it's too much work to decorate and put it together. However, I got a brand new steel icing spatula and I couldn't wait to use it when putting on the icing (the icing spatula was amazing - it was the first time I felt satisfied with my icing job!).
When I felt like making a cake one day not too long ago, it didn't take long for me to decide it would be Red Velvet since it's something that people are always talking about and I never tried it. I wanted to see what all the hype was about. I have to admit, the first thing that attracted me to it was the deep red hue which contrasts brightly with the bright, white, rich cream cheese frosting.
So how did I feel about the cake? I didn't think it was worth so much of the effort I put into making it, not to mention I used up almost two whole bottles of red food coloring!!! Keep in mind that there are SO many recipes out there for this cake, and the recipe I used was a combination of several recipes. It didn't turn out so moist as I would have liked and the texture turned out pretty crumbly. (In my opinion, cakes should have a moist texture with tight crumbs.) Having said that, it was edible and my little 10 year old brother ate 3/4 of the entire cake, so at least someone really liked it. The recipe below is not the recipe which I used, but feel free to use it if you like. Here's the link: Red Velvet Cake Recipe. The pictures are all mine however =)
Ingredients:
- 2 1/2cups (250 grams) sifted cake flour
- 1/2 teaspoon salt
- 2 tablespoons (15 grams) regular or Dutch-processed cocoa powder
- 1/2 cup (113 grams) unsalted butter, at room temperature
- 1 1/2 cups (300 grams) granulated white sugar
- 1 teaspoon pure vanilla extract
- 1 cup (240 ml) buttermilk
- 2 tablespoons liquid red food coloring
- 1 teaspoon white distilled vinegar
- 1 teaspoon baking soda
For the frosting, see step 9.
1. Preheat oven to 350 degrees F (175 degrees C) and place rack in center of oven. Butter two - 9 inch (23 cm) round cake pans and line the bottoms of the pans with parchment paper. Set aside.
5. In a measuring cup whisk the buttermilk with the red food coloring. With the mixer on low speed, alternately add the flour mixture and buttermilk to the butter mixture, in three additions, beginning and ending with the flour.
2. In a mixing bowl sift together the flour, salt, and cocoa powder. Set aside.
3. In bowl of your electric mixer, or with a hand mixer, beat the butter until soft (about 1-2 minutes). Add the sugar and beat until light and fluffy (about 2-3 minutes). Add the eggs, one at a time, beating well after each addition.
4. Scrape down the sides of the bowl. Add the vanilla extract and beat until combined.
5. In a measuring cup whisk the buttermilk with the red food coloring. With the mixer on low speed, alternately add the flour mixture and buttermilk to the butter mixture, in three additions, beginning and ending with the flour.
6. In a small cup combine the vinegar and baking soda. Allow the mixture to fizz and then quickly fold into the cake batter.
7. Working quickly, divide the batter evenly between the two prepared pans and smooth the tops with an offset spatula or the back of a spoon.
8. Bake in the preheated oven for approximately 25 - 30 minutes, or until a toothpick inserted in the center of the cakes comes out clean. Cool the cakes in their pans on a wire rack for 10 minutes. Place a wire rack on top of the cake pan and invert, lifting off the pan. Once the cakes have completely cooled, wrap in plastic and place the cake layers in the refrigerator for at least an hour (or overnight). (This is done to make filling and frosting the cakes easier.)
9. For the frosting, I used the following recipe -
Ingredients:
- 1 lb cream cheese (2 packages)
- 2 cups icing sugar
- 2 sticks unsalted butter (softened)
- 1 tsp vanilla
- 1 cup whipping cream
In a standing mixer fitted with the paddle attachment, or with a hand-held electric mixer in a large bowl, mix the cream cheese, sugar, and butter on low speed until incorporated. Slowly beat in the vanilla and then the cream, and mix until light and fluffy (or thick enough to spread). Store in the refrigerator until somewhat stiff, before using. Add sugar or cream as needed to get the right consistency.
10. To assemble the cake, with a serrated knife, cut each cake layer in half, horizontally. You will now have four cake layers. (Or you can just make a two layer cake and not slice each cake in half - just make sure you straighten the top of the cake if needed by slicing the top off - you can use the crumbs like I did to decorate the cake in the end.) Place one of the cake layers top down, onto your serving platter. Spread the cake layer with a layer of frosting.
Place another layer of cake on top of the frosting and continue to frost and stack the cake layers. Frost the top and sides of the cake.
Garnish with cake crumbs or any other decoration you like. (I also used a piping bag and star-shaped tip to pipe designs with the frosting to make it look pretty.)
Thursday, January 28, 2010
Black and White Chocolate Cake
So now that I'm pretty much free to do whatever I want since I graduated, I've wanted to try something more challenging. Up until now, I haven't tried to make pies and tarts yet, which I'll hopefully do very soon. But putting that aside, I always found making cakes intimidating. There are so many steps involved, and it takes so long to assemble! And when I saw this cake in Dorie Greenspan's book, Baking: From My Home to Yours, I thought, this looks SO good but it looks like SO much work. That's when I knew I had to try it.
So let me begin by saying that when I made this cake the first time: complete FAIL. After all, I'm not an expert. With that said, I was determined not to give up. To give myself some credit, when I did make it the first time (or try to anyway), I wasn't feeling very good and I wasn't in the mood to make it, but I promised my little brother I'd make it for him since the week before it was his birthday. So despite feeling horrible, I made up my mind to do it, and let me tell you, I had a bad feeling from the start. Personally, I need to be in full concentration mode and in a relaxed state of mind when I'm baking because I tend to be very absent-minded and mess up very easily. Anyway, as you will soon see, this is a vanilla cake with buttermilk (or as Dorie Greenspan puts it, a "yellow buttermilk cake") filled with a dark chocolate pastry cream (which to me seemed more like a light pudding) and white chocolate whipped cream (which was also used to frost the cake) and topped with chocolate curls (I've never done chocolate curls before, so that was one part I was REALLY looking forward to).
Basically, the cake started out okay. But THEN, I accidentally left it in the oven a couple of minutes too long and it got a little overdone. I told myself, OK that's fine...I can make do with that. Then I move on to the dark chocolate cream. That turned out good, thank God. In the recipe, it says the chocolate cream can stay for up to 3 days in the fridge as long as it's tightly sealed. Again, thank God for that because I ended up keeping it in the fridge for that long until I was able to make a second attempt at this cake. Then before I tried to make the white chocolate whipped cream, I thought, I should just slice the cakes in half so I don't have to do it later. I start slicing the cakes, and they were breaking!! At that point, I panicked because it would be disastrous to frost and fill a cake that was fallen apart. Regardless, I kept going. Like the cake, the whipped cream started out okay. But later on, I realized that I didn't pay attention to one very important sentence. It said to beat the initial bit of cream until you get the "softest peaks," and the peaks ended up turning into medium peaks. Then towards the end, I accidentally whipped the cream too much and it became grainy and curdled. Unfortunately, once it reaches that point, you can't save it. It pains me to say it, but I put almost a whole pint of whipped cream and 6 oz. of white chocolate in the trash. Luckily, my dad ate the broken pieces of cake with his tea for the next few days. So that's my story.
After three days, I felt much better and thank God, my second attempt turned out great! With that, I would like to say a few things about this cake. First of all, the actual cake is a little dry, and I would probably substitute it with another recipe that produces something more moist. Also, the cake would probably taste MUCH better if the chocolate cream was substituted with chocolate ganache. Now, on to the good stuff. I'd say that the best part about this recipe was the white chocolate whipped cream and the chocolate curls on top! YUMMMMM. The chocolate curls were VERY hard for me to make, and usually it is for people who try it for the first time. In the end, I was able to manage it though. So enjoy and good luck trying this recipe if you find it appealing =) I can definitely say that it was fun for me to make the second time around! This is how it turned out when I made it:
Ingredients:
For the cake-
2. To make the cake, first sift the flour, baking powder, baking soda, and salt into a bowl. Using a mixer, beat the butter on medium speed until soft and creamy.
3. Add the sugar and beat for another 3 minutes. Then, add the eggs one by one, and then the yolk, beating for 1 minute after each addition.
4. Beat in the vanilla; don't worry if the mixture looks curdled at this point. Reduce the mixer to low speed and add the dry ingredients and the buttermilk alternately, adding the dry ingredients in 3 batches and the buttermilk in 2 (begin and end with the dry ingredients). Scrape down the sides of the bowl as needed, and mix only until the ingredients disappear into the batter.
5. Divide the batter evenly between the two pans and smooth the tops with a rubber spatula. Bake the cakes for 28-30 minutes, rotating the pans at the midway point. When fully baked, the cakes will be golden and springy to the touch, and a thin knife or toothpick inserted into the centers will come out clean.
6. Transfer the cakes to a rack, cool for about 5 minutes, then unmold and invert to cool to room temperature right side up on the rack.
7. To make the dark chocolate pastry cream, first bring the milk to a boil. Then, in a saucepan, whisk the egg yolks with the sugar, cornstarch, and salt until thick and well blended. Whisking without stopping, drizzle in about 1/4 cup of the hot milk (according to Dorie Greenspan, this will temper, or warm, the yolks so they won't curdle) and still whisking, add the remainder of the milk in steady stream.
8. Put the pan over medium heat, and whisking vigorously, constantly, and thoroughly (make sure to get the edges of the pan), bring the mixture to a boil. Keep boiling it for about 1 to 2 minutes, then remove the pan from the heat.
9. Finally, whisk in the melted chocolate, and let stand for 5 minutes. Then whisk in the pieces of butter, stirring until they are fully incorporated and the chocolate cream is smooth and silky. Press a piece of plastic wrap against the surface of the cream to create an airtight seal and refrigerate the cream until chilled, or for up to 3 days.
10. To make the white chocolate whipped cream, put the white chocolate in a heatproof bowl and put the bowl over a saucepan of simmering water. Stir frequently to melt the chocolate evenly. When the white chocolate is melted, remove the bowl from the pan.
12. Working with a mixer (I prefer using a hand mixer when dealing with egg whites or whipped cream because it gives me more control), beat the remaining 1 cup heavy cream only until it holds the softest peaks.
13. Then, turn the machine to high, add the cooled white chocolate all at once and continue to beat until the whipped cream holds firm peaks. Turn the whipped cream into a bowl if you need to, press a piece of plastic wrap gently to the surface to create an airtight seal, and refrigerate for at least 2 hours, or up to 6 hours.
14. To assemble the cake, first see if the cakes have crowned (meaning that they are point and rounded like a hill on top). If they are, use a long serrated knife and a gentle sawing motion to even them and straighten the top out. Then, slice each layer horizontally in half.
15. Place one layer cut side down on cardboard cake round or on a cake plate/stand protected by strips of wax or parchment paper. Remove the dark and white chocolate creams from the fridge and whisk each of them to loosen and smooth them. With a long metal icing spatula, spread enough dark chocolate cream (about 1 cup) over the cake layer to cover it completely.
16. Top the cream with another cake layer, cut side up, and cover this layer with white chocolate whipped cream, making the white layer about the same thickness as the chocolate layer.
17. Cover with another cake layer, cut side up, and cover with another cup or so of the dark chocolate cream.
18. Finally, top with another layer of cake, cut side down, and frost the sides and top with remaining white chocolate whipped cream. (Sorry if mine looks a bit messy - by this time, I was really tired and just wanted to get it over with!)
19. If you like, decorate the top with chocolate curls or shavings NOW. Refrigerate the cake for at least 3 hours before serving.
As I said before, by this time I was so tired, I forgot to take pictures of making the chocolate curls and white chocolate shavings. But, I have a couple of websites that might help.
Stick the baking sheet in the freezer for a few minutes. You know it's ready because when you take the pan out and put make a thumbprint on the chocolate, the print won't show. If the melted chocolate is still not solid enough, your thumb will make an imprint in the chocolate.
When you take out the baking sheet and the chocolate is solid enough, take a spatula like the one shown below, and test it by scraping down the pan at an angle (lifting the spatula up while sliding it down), and the chocolate shouldn't crumble or break, but roll up and make a curl. Most importantly, the hardest part is that while you make the chocolate curls, the chocolate on the baking sheet keeps getting warm, and then it doesn't curl properly. So you have to keep sticking it in the freezer every minute for another minute or so to harden it again. And on top of that, when you do get the curls, you have to quickly stick them in the fridge on a plate or wax paper because they will start to melt immediately. Don't even try holding them in your hand because the warmth from your body will destroy them. Then you'll have to remelt the chocolate and start all over again! I apologize if this is not clear enough. Like I said, the websites I provide will probably do a better job of explaining and showing it.
Anyway, by the time I was done, this is how it turned out. First, I arranged the chocolate curls all over the top. Then I sprinkled around the white chocolate shavings. I probably could've done a better job if I wasn't so tired. But it'll do!
Perfect Chocolate Curls
So let me begin by saying that when I made this cake the first time: complete FAIL. After all, I'm not an expert. With that said, I was determined not to give up. To give myself some credit, when I did make it the first time (or try to anyway), I wasn't feeling very good and I wasn't in the mood to make it, but I promised my little brother I'd make it for him since the week before it was his birthday. So despite feeling horrible, I made up my mind to do it, and let me tell you, I had a bad feeling from the start. Personally, I need to be in full concentration mode and in a relaxed state of mind when I'm baking because I tend to be very absent-minded and mess up very easily. Anyway, as you will soon see, this is a vanilla cake with buttermilk (or as Dorie Greenspan puts it, a "yellow buttermilk cake") filled with a dark chocolate pastry cream (which to me seemed more like a light pudding) and white chocolate whipped cream (which was also used to frost the cake) and topped with chocolate curls (I've never done chocolate curls before, so that was one part I was REALLY looking forward to).
Basically, the cake started out okay. But THEN, I accidentally left it in the oven a couple of minutes too long and it got a little overdone. I told myself, OK that's fine...I can make do with that. Then I move on to the dark chocolate cream. That turned out good, thank God. In the recipe, it says the chocolate cream can stay for up to 3 days in the fridge as long as it's tightly sealed. Again, thank God for that because I ended up keeping it in the fridge for that long until I was able to make a second attempt at this cake. Then before I tried to make the white chocolate whipped cream, I thought, I should just slice the cakes in half so I don't have to do it later. I start slicing the cakes, and they were breaking!! At that point, I panicked because it would be disastrous to frost and fill a cake that was fallen apart. Regardless, I kept going. Like the cake, the whipped cream started out okay. But later on, I realized that I didn't pay attention to one very important sentence. It said to beat the initial bit of cream until you get the "softest peaks," and the peaks ended up turning into medium peaks. Then towards the end, I accidentally whipped the cream too much and it became grainy and curdled. Unfortunately, once it reaches that point, you can't save it. It pains me to say it, but I put almost a whole pint of whipped cream and 6 oz. of white chocolate in the trash. Luckily, my dad ate the broken pieces of cake with his tea for the next few days. So that's my story.
After three days, I felt much better and thank God, my second attempt turned out great! With that, I would like to say a few things about this cake. First of all, the actual cake is a little dry, and I would probably substitute it with another recipe that produces something more moist. Also, the cake would probably taste MUCH better if the chocolate cream was substituted with chocolate ganache. Now, on to the good stuff. I'd say that the best part about this recipe was the white chocolate whipped cream and the chocolate curls on top! YUMMMMM. The chocolate curls were VERY hard for me to make, and usually it is for people who try it for the first time. In the end, I was able to manage it though. So enjoy and good luck trying this recipe if you find it appealing =) I can definitely say that it was fun for me to make the second time around! This is how it turned out when I made it:
Ingredients:
For the cake-
- 2 cups cake flour
- 2 tsp baking powder
- 1/8 tsp baking soda
- 1/4 tsp salt
- 1 1/4 sticks (10 tbsp) unsalted butter, at room temperature
- 1 cup sugar
- 3 large eggs
- 1 large egg yolk
- 1 tsp vanilla
- 3/4 cup buttermilk
- 2 cups whole milk
- 4 large egg yolks
- 6 tbsp sugar
- 3 tbsp cornstarch, sifted
- 1/4 tsp salt
- 7 oz bittersweet chocolate, melted
- 2 1/2 tbsp unsalted butter, cut into 5 pieces, at room temperature
- 6 oz white chocolate, finely chopped
- 1 1/2 cups heavy cream
- Chocolate shavings or curls, dark or white or a combination of both for decoration
2. To make the cake, first sift the flour, baking powder, baking soda, and salt into a bowl. Using a mixer, beat the butter on medium speed until soft and creamy.
3. Add the sugar and beat for another 3 minutes. Then, add the eggs one by one, and then the yolk, beating for 1 minute after each addition.
4. Beat in the vanilla; don't worry if the mixture looks curdled at this point. Reduce the mixer to low speed and add the dry ingredients and the buttermilk alternately, adding the dry ingredients in 3 batches and the buttermilk in 2 (begin and end with the dry ingredients). Scrape down the sides of the bowl as needed, and mix only until the ingredients disappear into the batter.
5. Divide the batter evenly between the two pans and smooth the tops with a rubber spatula. Bake the cakes for 28-30 minutes, rotating the pans at the midway point. When fully baked, the cakes will be golden and springy to the touch, and a thin knife or toothpick inserted into the centers will come out clean.
6. Transfer the cakes to a rack, cool for about 5 minutes, then unmold and invert to cool to room temperature right side up on the rack.
7. To make the dark chocolate pastry cream, first bring the milk to a boil. Then, in a saucepan, whisk the egg yolks with the sugar, cornstarch, and salt until thick and well blended. Whisking without stopping, drizzle in about 1/4 cup of the hot milk (according to Dorie Greenspan, this will temper, or warm, the yolks so they won't curdle) and still whisking, add the remainder of the milk in steady stream.
8. Put the pan over medium heat, and whisking vigorously, constantly, and thoroughly (make sure to get the edges of the pan), bring the mixture to a boil. Keep boiling it for about 1 to 2 minutes, then remove the pan from the heat.
9. Finally, whisk in the melted chocolate, and let stand for 5 minutes. Then whisk in the pieces of butter, stirring until they are fully incorporated and the chocolate cream is smooth and silky. Press a piece of plastic wrap against the surface of the cream to create an airtight seal and refrigerate the cream until chilled, or for up to 3 days.
10. To make the white chocolate whipped cream, put the white chocolate in a heatproof bowl and put the bowl over a saucepan of simmering water. Stir frequently to melt the chocolate evenly. When the white chocolate is melted, remove the bowl from the pan.
11. Bring 1/2 cup of the heavy cream to a boil. Then, pour the hot cream into the melted white chocolate and let it sit for 1 minute. Using a small spatula, stir the chocolate gently until it is smooth. Let it sit on the counter until it reaches room temperature. (I wanted it to cool quickly, so I places the bowl in another bowl filled with cold water, or you can fill it with ice. It cooled in no time!) Keep in mind, the mixture cannot be the least bit warm when you add it to the whipped cream.
12. Working with a mixer (I prefer using a hand mixer when dealing with egg whites or whipped cream because it gives me more control), beat the remaining 1 cup heavy cream only until it holds the softest peaks.
13. Then, turn the machine to high, add the cooled white chocolate all at once and continue to beat until the whipped cream holds firm peaks. Turn the whipped cream into a bowl if you need to, press a piece of plastic wrap gently to the surface to create an airtight seal, and refrigerate for at least 2 hours, or up to 6 hours.
14. To assemble the cake, first see if the cakes have crowned (meaning that they are point and rounded like a hill on top). If they are, use a long serrated knife and a gentle sawing motion to even them and straighten the top out. Then, slice each layer horizontally in half.
15. Place one layer cut side down on cardboard cake round or on a cake plate/stand protected by strips of wax or parchment paper. Remove the dark and white chocolate creams from the fridge and whisk each of them to loosen and smooth them. With a long metal icing spatula, spread enough dark chocolate cream (about 1 cup) over the cake layer to cover it completely.
16. Top the cream with another cake layer, cut side up, and cover this layer with white chocolate whipped cream, making the white layer about the same thickness as the chocolate layer.
17. Cover with another cake layer, cut side up, and cover with another cup or so of the dark chocolate cream.
18. Finally, top with another layer of cake, cut side down, and frost the sides and top with remaining white chocolate whipped cream. (Sorry if mine looks a bit messy - by this time, I was really tired and just wanted to get it over with!)
19. If you like, decorate the top with chocolate curls or shavings NOW. Refrigerate the cake for at least 3 hours before serving.
As I said before, by this time I was so tired, I forgot to take pictures of making the chocolate curls and white chocolate shavings. But, I have a couple of websites that might help.
- TLC Cooking "Chocolate Garnishes"
- How To Make Chocolate Curls - Tasty Kitchen Blog
- How to Make Chocolate Curls - From Karen's Kitchen
Stick the baking sheet in the freezer for a few minutes. You know it's ready because when you take the pan out and put make a thumbprint on the chocolate, the print won't show. If the melted chocolate is still not solid enough, your thumb will make an imprint in the chocolate.
When you take out the baking sheet and the chocolate is solid enough, take a spatula like the one shown below, and test it by scraping down the pan at an angle (lifting the spatula up while sliding it down), and the chocolate shouldn't crumble or break, but roll up and make a curl. Most importantly, the hardest part is that while you make the chocolate curls, the chocolate on the baking sheet keeps getting warm, and then it doesn't curl properly. So you have to keep sticking it in the freezer every minute for another minute or so to harden it again. And on top of that, when you do get the curls, you have to quickly stick them in the fridge on a plate or wax paper because they will start to melt immediately. Don't even try holding them in your hand because the warmth from your body will destroy them. Then you'll have to remelt the chocolate and start all over again! I apologize if this is not clear enough. Like I said, the websites I provide will probably do a better job of explaining and showing it.
Anyway, by the time I was done, this is how it turned out. First, I arranged the chocolate curls all over the top. Then I sprinkled around the white chocolate shavings. I probably could've done a better job if I wasn't so tired. But it'll do!
Subscribe to:
Posts (Atom)