Thursday, July 26, 2012

Banana Pecan Torte

I know it's been awhile, and I apologize to those of you who like to take the time to come here and look for new recipes! It's great to be back, baking something new to share with everyone!

To start off, as mentioned in my earlier banana-related posts, I'm sure there's many of us out there who seem to have ripening bananas that we can't get rid of any faster. And I'm also pretty sure there are many of us out there who are sick of using them to make banana bread!

Well, I was going through one of my recipe books, The Taste of Home Baking Book, and went through the index looking for all things starting with banana to try and change things up. When I turned to the page of this recipe, the first thing that caught my eye was the picture of the 3-layer cake. Anything with layers and frosting makes me excited because it looks impressive. Well I'm happy to say, that it not only looks good, it tastes good too! The torte turned out to be moist and there were just the right amount of pecans. The cream cheese frosting was not so strong because it was mixed with butter, and the frosting really complemented the banana flavor of the cake. If you're not a fan of pecans or you don't have any, you can always substitute with walnuts and it would taste just as amazing!


Ingredients:

  • 1 cup  butter, softened
  • 2 1/2 cups sugar
  • 4 eggs
  • 2 cups mashed ripe bananas (about 3-4 medium)
  • 2 tsp vanilla flavoring
  • 3 1/2 cups all-purpose flour
  • 2 tsp baking soda
  • 3/4 tsp salt
  • 1/2 cup buttermilk
  • 1 cup chopped pecans
Frosting:
  • 1 package (8 oz) cream cheese, softened
  • 1/2 cup butter, softened
  • 3 1/2 cups confectioners' sugar
  • 1 tsp vanilla flavoring
Topping:
  • Toasted chopped pecans

1. In a mixing bowl, cream butter and sugar until light and fluffy.
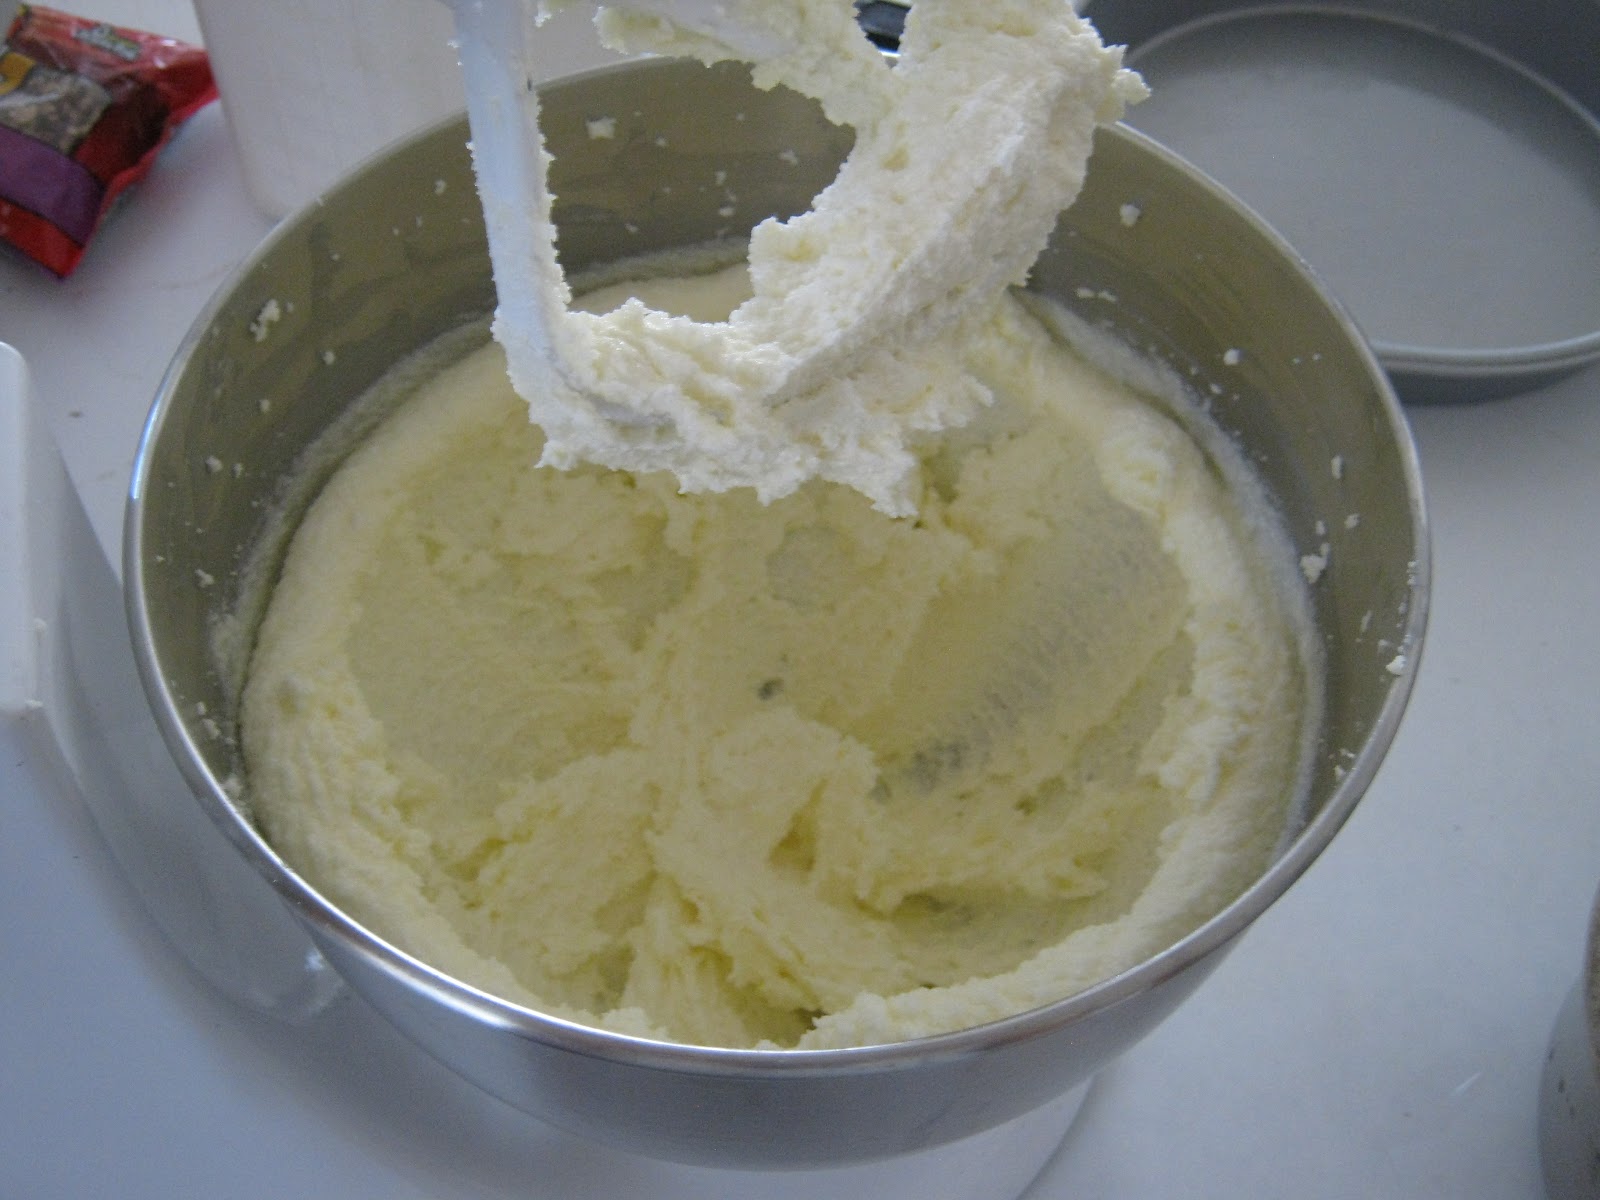

2. Add the eggs, one at a time, beating well after each addition.
3. Beat in bananas and vanilla.

You may need to use more or less bananas depending on their size. Make sure you  have 2 cups! I had to use about 4  medium sized bananas.
4. Combine the flour, baking soda, and salt; add to the creamed mixture alternately  with buttermilk. 
5. Stir in pecans.
Make sure to toast your pecans for a few minutes in the oven  at about 300 degrees F. Do not  leave them any longer than a few minutes because nuts get burned very quickly!
6. Pour into three greased and floured 9-inch round baking pans. Bake at 350 degrees F for 30-35 minutes or until a toothpick inserted near the center comes out clean. 

These have been greased with butter and lightly floured. 
Make sure you fill all 3 cake pans evenly!
7. Cool for 10 minutes before removing from pans to wire racks to cool completely.


8. For the frosting, beat the cream cheese, butter, and sugar in a small mixing bowl. Add vanilla. Spread between the layers and over the top of the cake. Sprinkle with pecans. Store in the refrigerator.


Sunday, July 1, 2012

Apple Crisp Cupcakes

One of the best cupcakes I've made thus far...no need for frosting. They are soft, moist, and have the perfect delicious balance between the bits of apple and rich flavor of brown sugar and cinnamon making up the streusel. Great to eat on a cold winter night with a cup of coffee, tea, or hot chocolate =) This recipe is from my favorite cupcake book 125 Best Cupcake Recipes.


Ingredients:

Batter -
  • 1 1/2 cups all-purpose flour
  • 1 1/2 tsp baking powder
  • 1/4 tsp salt
  • 1 cup granulated sugar
  • 1/2 cup unsalted butter (melted and cooled slightly)
  • 2 eggs
  • 1/2 tsp vanilla
  • 1/3 cup milk
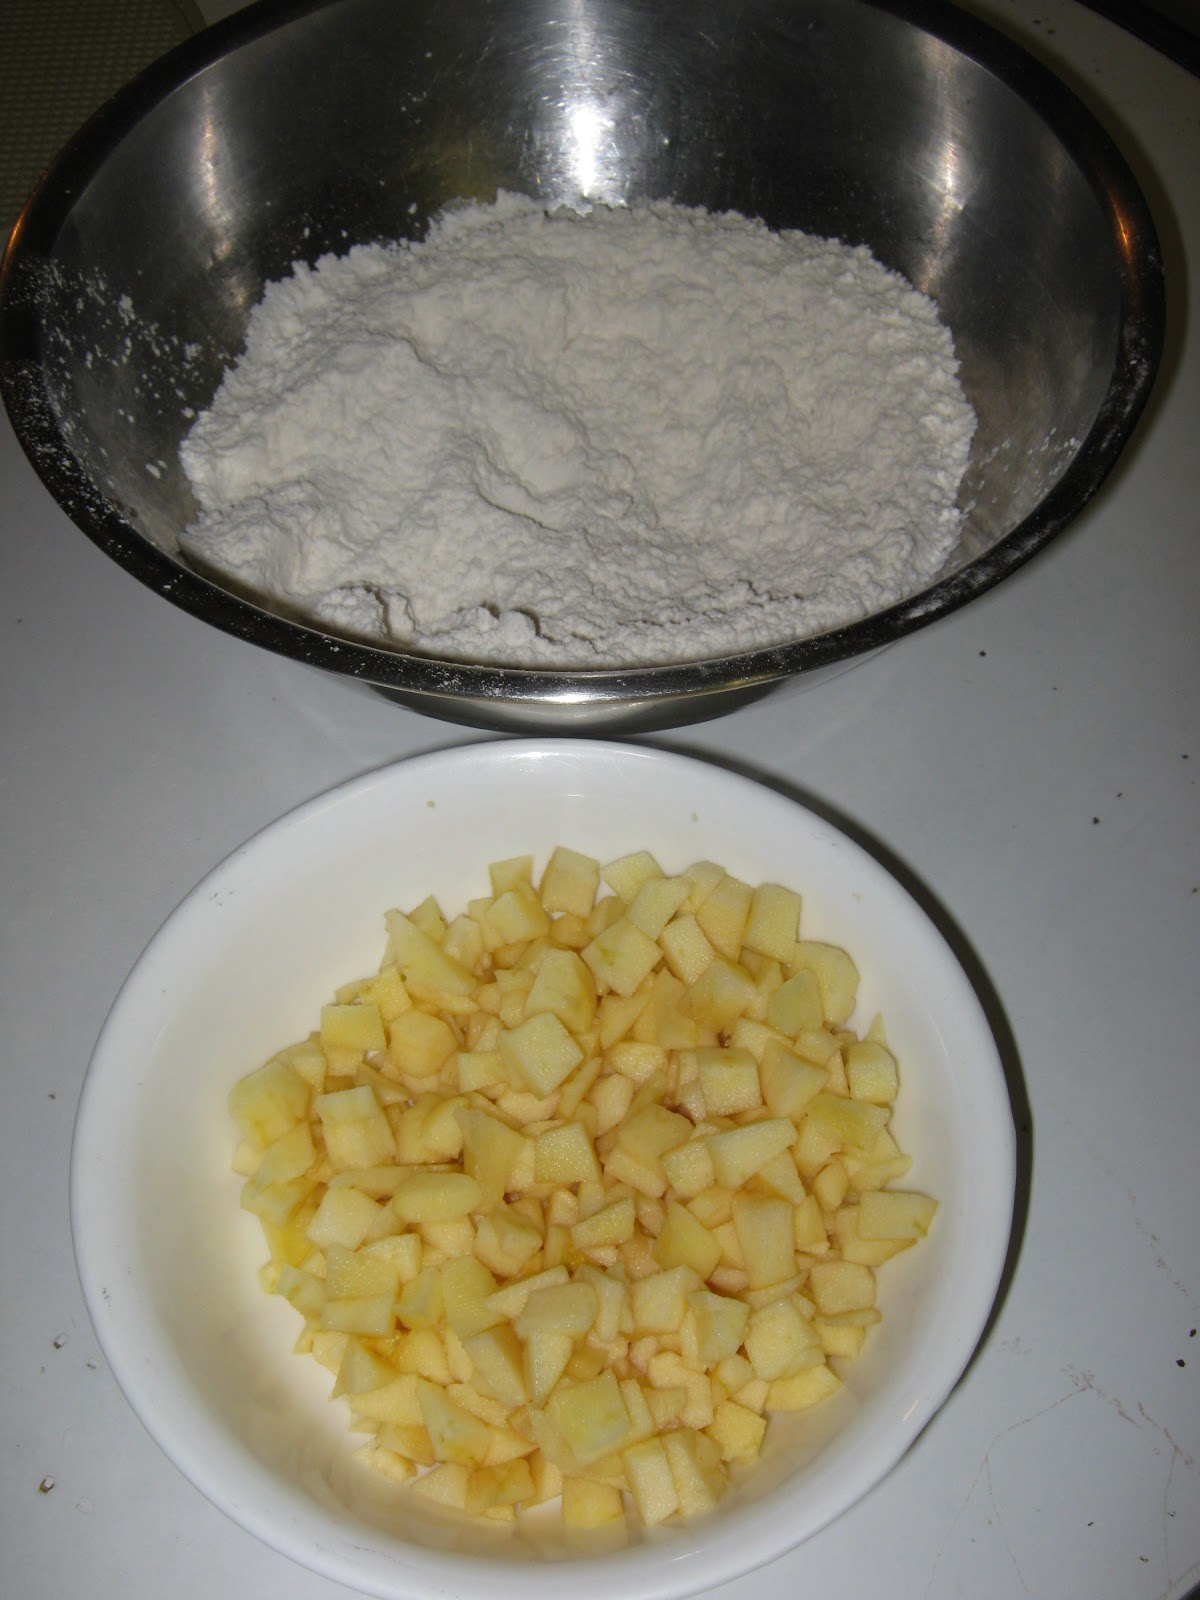
  • 1 apple (peeled, cored, and diced)
Streusel -
  • 3/4 cup packed light brown sugar
  • 1 tsp ground cinnamon
  • 3 tbsp unsalted butter (at room temperature)
  • Pinch of salt

1. Preheat the oven to 350 degrees F. Line a muffin pan with paper liners. For the batter, in a small bowl, mix together flour, baking powder, and salt.


2. In a large bowl, whisk together the sugar, butter, eggs, and vanilla until smooth.

3. Alternately whisk in flour mixture and milk, making three additions of flour mixture and two of milk, beating until smooth.

4. Stir in the apple.


5. For the streusel, in a bowl, whisk together brown sugar and cinnamon. Add the butter and rub in with fingertips until moisture holds together in small, moist clumps.


6. Scoop about half of the batter into the prepared pan. Sprinkle streusel over the batter. Scoop remaining batter over streusel.


7. Bake in preheated oven for 20-25 minutes or until golden brown and tops of cupcakes spring back when lightly touched. Let cool in pan on rack for 10 minutes. Remove from pan and let cool completely on rack. Top cooled cupcakes with frosting if desired.

Saturday, January 28, 2012

Chocolate Cake (well, sort of)

I've made chocolate cake before with vanilla frosting, but never with chocolate frosting. Recently, it was my brother's birthday and I decided to make him a nice, simple chocolate cake and then dress it up on the top. Well, on my long and hard search for a recipe (haha...not really...I just clicked on the first website in the search), which was basically Googling "Best Chocolate Cake Recipe," I came upon this: Beatty's Chocolate Cake Recipe from the Food Network. Since this recipe had thousands of good reviews, I thought I'd give it a try. I have 2 things to say. First, this cake has an AMAZING texture...just how a cake should be...soft, moist, and tight-crumbed....the kind you get when you use a mix, but of course this is all made from scratch. I think the fact that it uses oil instead of butter as well as buttermilk has a lot to do with it.

The interesting thing about this recipe is that it uses coffee as part of the flavoring in the cake and the frosting, which brings me to the second point. In the cake, you can't really taste the coffee and it's used to actually bring out the chocolate flavor more. However, for the frosting, it turned out to be more of a strong coffee-flavored buttercream than a chocolate one. Now me being a coffee lover, that's not a problem at all. But for people who aren't, this may pose a problem. So then, I would just recommend omitting the coffee. What confuses me then, is why label this recipe a "Chocolate Cake" recipe? The title is certainly deceiving. But, other than that, I have no other criticism, so enjoy making it because it will definitely be my go-to chocolate cake recipe from now on.

Oh...can't forget my own touch that I added to the cake...when decorating, make it more delicious by adding white and/or milk chocolate curls! I also added decorating pearls and gold flakes to make it look fancy. To learn how to make chocolate curls/shavings, watch this video How to make chocolate curls OR this video Making chocolate shavings. I use the method from the second video, but I tend to angle my metal spatula in a way that will allow me to get more curls than shavings. White Chocolate is much harder to deal with because of its texture, and you're probably going to end up getting shavings more than curls like I did.


Ingredients

  • Butter, for greasing the pans
  • 1 3/4 cups all-purpose flour, plus more for pans
  • 2 cups sugar
  • 3/4 cups good cocoa powder
  • 2 teaspoons baking soda
  • 1 teaspoon baking powder
  • 1 teaspoon kosher salt
  • 1 cup buttermilk, shaken
  • 1/2 cup vegetable oil
  • 2 extra-large eggs, at room temperature
  • 1 teaspoon pure vanilla extract
  • 1 cup freshly brewed hot coffee
  • Chocolate Buttercream, recipe follows

Directions

Preheat the oven to 350 degrees F. Butter two 8-inch x 2-inch roundcake pans. Line with parchment paper, then butter and flour the pans.
Sift the flour, sugar, cocoa, baking soda, baking powder, and salt into the bowl of an electric mixer fitted with a paddle attachment and mix on low speed until combined. In another bowl, combine the buttermilk, oil, eggs, and vanilla. With the mixer on low speed, slowly add the wet ingredients to the dry. With mixer still on low, add the coffee and stir just to combine, scraping the bottom of the bowl with a rubberspatula. Pour the batter into the prepared pans and bake for 35 to 40 minutes, until a cake tester comes out clean. Cool in the pans for 30 minutes, then turn them out onto a cooling rack and cool completely.
Place 1 layer, flat side up, on a flat plate or cake pedestal. With a knife or offset spatula, spread the top with frosting. Place the second layer on top, rounded side up, and spread the frosting evenly on the top and sides of the cake.


Chocolate Frosting:
  • 6 ounces good semisweet chocolate (recommended: Callebaut)
  • 1/2 pound (2 sticks) unsalted butter, at room temperature
  • 1 extra-large egg yolk, at room temperature
  • 1 teaspoon pure vanilla extract
  • 1 1/4 cups sifted confectioners' sugar
  • 1 tablespoon instant coffee powder
Chop the chocolate and place it in a heat-proof bowl set over a pan of simmering water. Stir until just melted and set aside until cooled to room temperature.
In the bowl of an electric mixer fitted with a paddle attachment, beat the butter on medium-high speed until light yellow and fluffy, about 3 minutes. Add the egg yolk and vanilla and continue beating for 3 minutes. Turn the mixer to low, gradually add the confectioners' sugar, then beat at medium speed, scraping down the bowl as necessary, until smooth and creamy. Dissolve the coffee powder in 2 teaspoons of the hottest tap water. On low speed, add the chocolate and coffee to the butter mixture and mix until blended. Don't whip! Spread immediately on the cooled cake.

Friday, January 6, 2012

Cookies N' Cream Brownies

So for awhile now, I've been craving a rich and chocolatey brownie. I also happened to get my hands on The Taste of Home Baking Book. This book has a great selection of brownie recipes which I can't wait to try. As I flipped through, my eyes landed on a particular recipe since it has one of my favorite ingredients: Oreo Cookies. To be honest, I think that you simply can't go wrong with anything that has Oreos because they are just so darn good. My mind for the first choice was made up. The good news is that the brownies turned out great! They are moist and not too sweet. On the downside, I didn't really taste any Oreo flavor. So if I make these again, I will definitely be adding an Oreo topping of some sort, which will also add a nice touch.


Ingredients:
  • -1 package (8 ounces) cream cheese, softened
  • -1/4 cup sugar
  • -1 egg
  • -1/2 teaspoon vanilla extract

  • BROWNIE LAYER:
  • -1/2 cup butter, melted
  • -1/2 cup sugar
  • -1/2 cup packed brown sugar
  • -1/2 cup baking cocoa
  • -2 eggs
  • -1 teaspoon vanilla extract
  • -1/2 cup all-purpose flour
  • -1 teaspoon baking powder
  • -12 cream-filled chocolate sandwich cookies, crushed

Directions:

  • 1. In a small bowl, beat the cream cheese, sugar, egg and vanilla until smooth; set aside.
  • Tip: Make sure you scrape down the bowl while beating the cream cheese mixture AND the brownie mixture. You don't want any lumps leftover inside each of the mixtures before you pour them into the pan. At the same time, don't beat the mixtures too much because it can ruin the texture of the brownie. 


2. For brownie layer, combine the butter, sugars and cocoa in a large bowl. 


  • 3. Beat in eggs.


4. Combine flour and baking powder; gradually add to cocoa mixture. 


5. Stir in cookie crumbs.


6. Pour into a greased 11-in. x 7-in. baking pan.


  • 7. Spoon cream cheese mixture over batter; cut through batter with a knife to swirl. 
  • Tip: Don't cut through the batters too much because you don't want to mix up the batters completely. The layers should stay separate - you just want to create a swirl effect for design.


  • 8. Bake at 350° for 25-30 minutes or until a toothpick inserted near the center comes out with moist crumbs. 


9. Cool completely on a wire rack. Cut into bars. Store in the refrigerator.

Tuesday, December 27, 2011

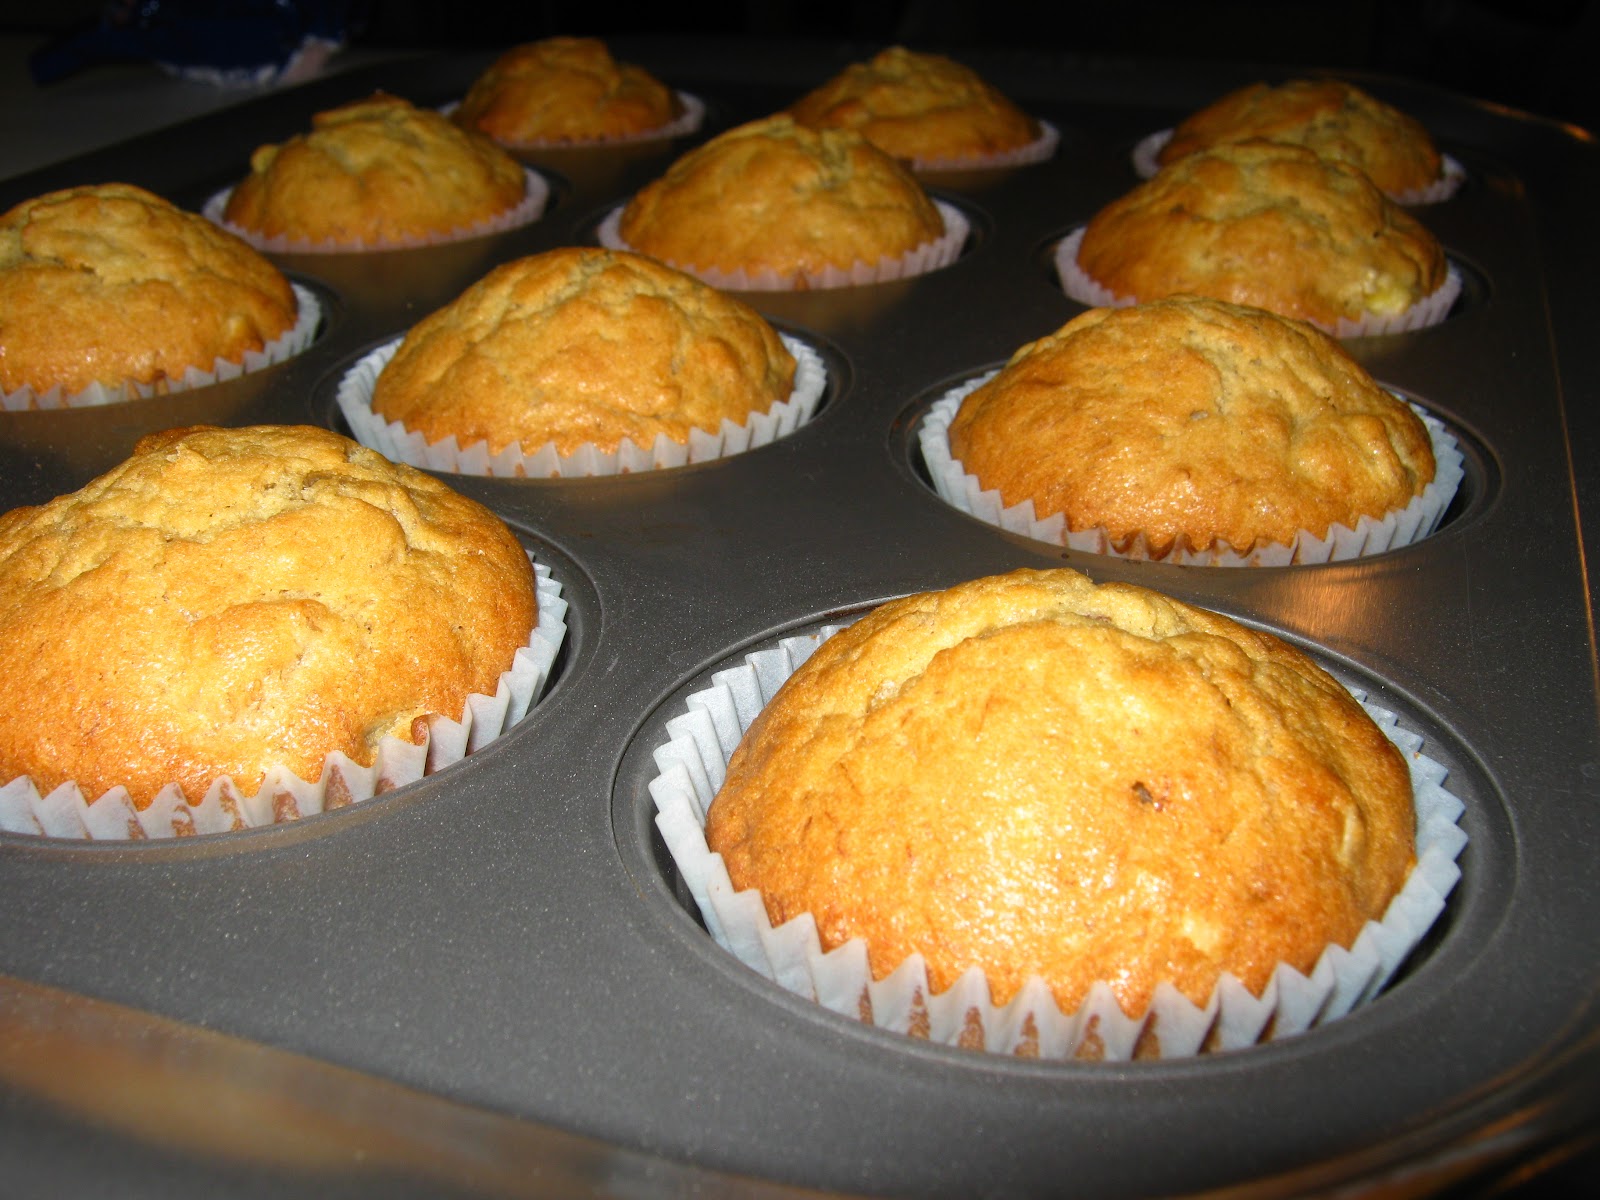
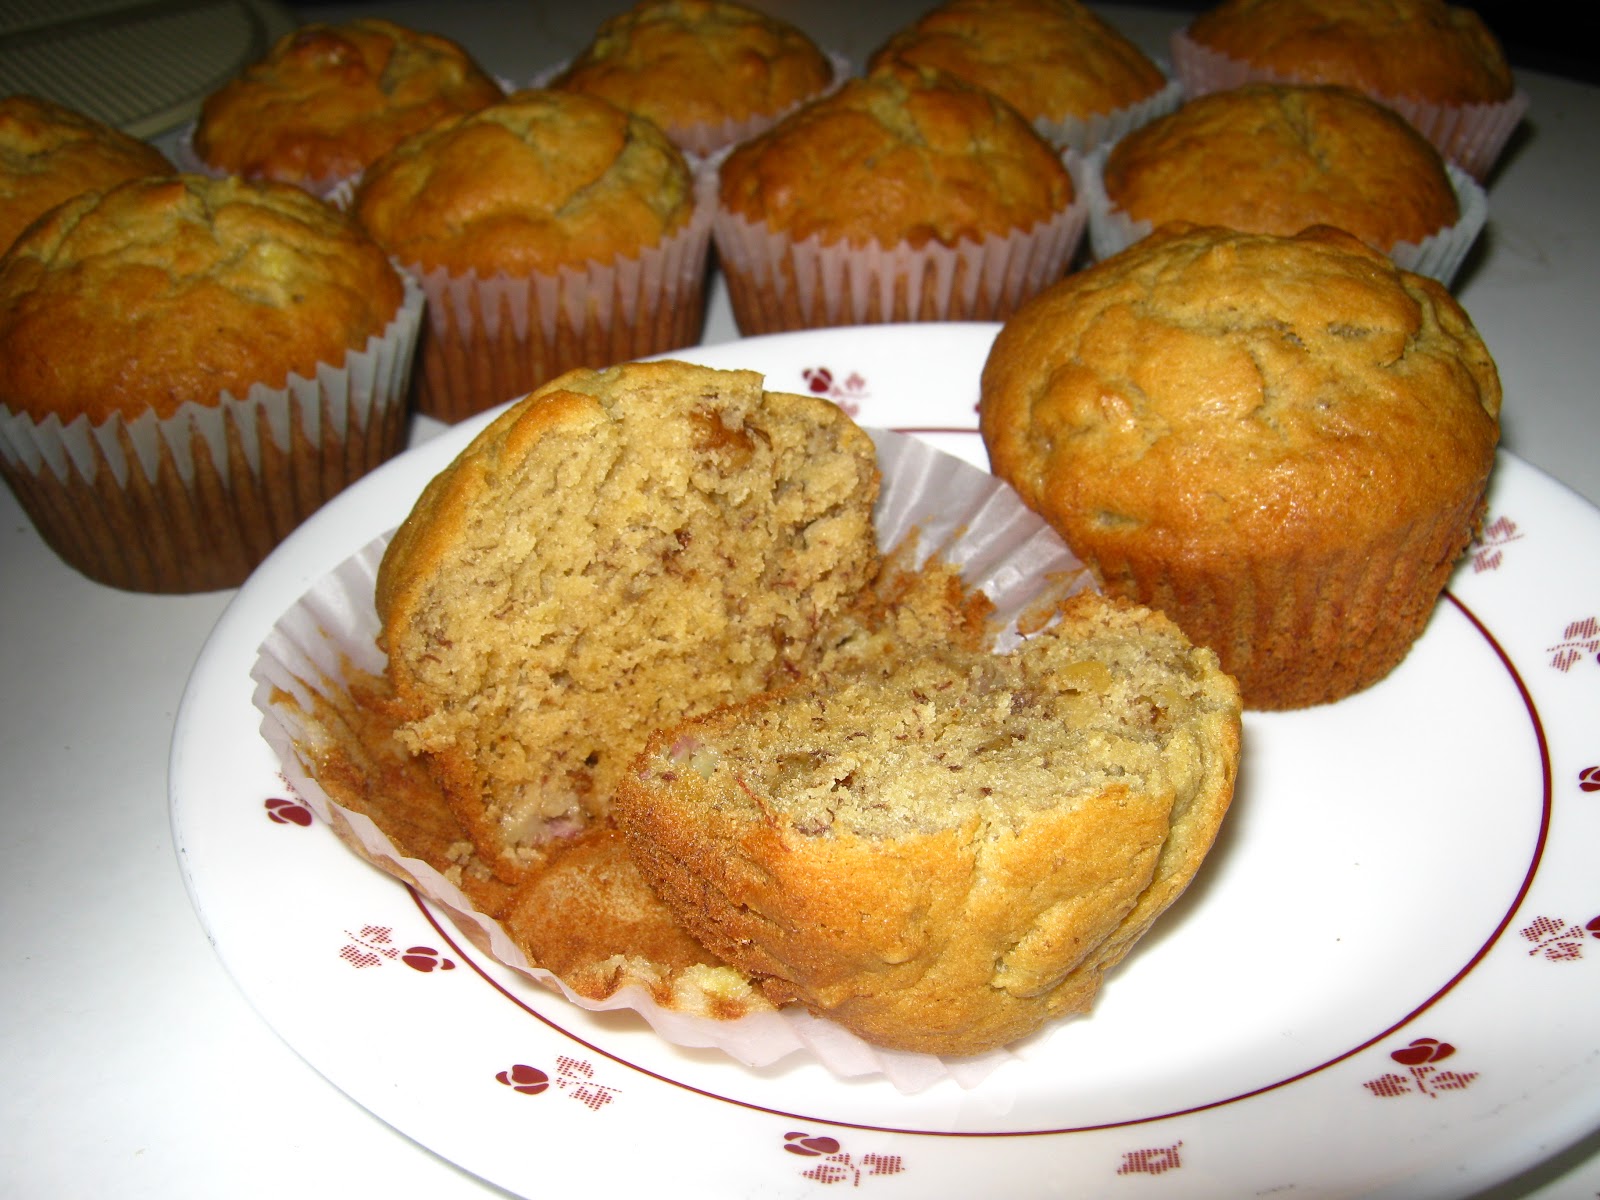
Banana Nut Muffins

It's been one of those days again...a day when there's bananas going bad and you have to think desperately what to do with them so they don't have to be thrown away. Well, lucky for those of us out there who face this problem often (I know I do), there's tons of great recipes out there for bananas. I have a few that I want to try out. But today, I decided to try this muffin since it makes for a nice breakfast and something you can have with tea or coffee. All I have to say is, these are super moist and delicious...you cannot go wrong with making these! The recipe is from the Food Network website...here's the link: Banana Nut Muffins: Tyler Florence. For an extra pop and more yummy flavor, I added chocolate chips in a few muffins...chocolate and banana = the perfect combo. Also, I didn't have pecans, so I substituted them with walnuts. Pecans or Walnuts, with or without chocolate chips, it doesn't matter...these are amazing. Enjoyyy =)


Ingredients

  • 2 cups all-purpose flour
  • 1 1/2 teaspoons baking soda
  • 1/2 teaspoon salt
  • 4 overripe bananas
  • 1 cup brown sugar
  • 3/4 cup (1 1/2 sticks) unsalted butter, melted and cooled
  • 2 eggs
  • 1 teaspoon pure vanilla extract
  • 1/2 cup pecans, chopped


Directions


1. Preheat oven to 375 degrees F and prepare a muffin pan with cupcake liners.

2. In a large bowl, combine the flour, baking soda, and salt; set aside. 

3. Mash 2 of the bananas with a fork in a small bowl so they still have a bit of texture. Put aside. 

4. With an electric mixer fitted with a wire whisk, whip the remaining 2 bananas and brown sugar together for a good 3 minutes. 

5. Add the melted butter, eggs, and vanilla and beat well, scraping down the sides of the bowl once or twice. 

6. Mix in the dry ingredients just until incorporated.
7. Fold in the nuts and the mashed bananas with a rubber spatula. 

8. Spoon the batter into the muffin tins to fill them about halfway. Give them a rap on the counter to get any air bubbles out.

9. Bake until a toothpick stuck in the muffins comes out clean, 18 to 20 minutes. 

10. Let cool for a few minutes before turning the muffins out. Serve warm or at room temperature.


Tip: Add chocolate chips to make it even more yummy:


Monday, November 7, 2011

Pecan Tarts

It's been a VERY long time since my last post. I just want to sincerely apologize for the long wait. I haven't had many opportunities to bake in the past few months. With that said, Eid is one occasion for which I have to bake no matter what. It doesn't feel like a holiday unless there's goodies to wake up to in the morning and sweet, delicious aromas wafting from the kitchen. I haven't really made anything to do with pastries yet, so I thought I'd give this recipe a try since it seemed less complicated than making an actual pie or tart (which I have YET to try). Pecans are my favorite nuts, so there was also no question about using anything else for the filling (although walnuts are pretty good too). I made the mistake of using pecans that were a little old (which I stored in the fridge for some time.) Note: Always use fresh nuts for the best taste. In fact, always use fresh everything.

And finally, the recipe came from a book that came straight from South Africa (who they say have some of the best bakers) courtesy of  one of my cousins who went there over the past summer. The book is called "Busy Biscuits." Not sure if I like this book yet...I have a to try a few more things and then I will give it an official review. The only thing about these kinds of books from other countries is that they don't always have exact recipes. They give you general measurements for certain ingredients, and then usually you have to figure out some things as you go along. For example, there is no exact measurement for how much flour to use in this recipe, so I had to keep adding flour until I felt the dough was just right. Basically, the dough cannot be too gooey, and you add only very little flour at a time until the dough stops sticking to your fingers and the bowl - it should be pliable enough to roll out and cut out.

This tart wasn't bad at all. The pastry kind of melts in your mouth once you eat it. I feel like the filling could be better, which is why I will also add a different recipe of pecan tarts from another cookie book that I like to use "Cookies: 1,001 Mouthwatering Recipes from Around the World." Here's the final product, and following that is the recipe...


Ingredients:


For the Pastry:

  • 1/2 cup (1 stick) butter
  • 1/2 cup powdered sugar
  • 1 egg yolk 
  • 1 tsp baking powder
  • 1 cup cake flour (or more...you will definitely need more!)
  • 1 tsp vanilla flavoring

For the Filling:

  • 30 g butter or margarine (softened)
  • 1 egg white
  • 1 tbsp cocoa
  • 1 level cup chopped pecans
  • 2 tbsp powdered sugar


Topping: 
Melting Chocolate (I used Ghirardelli Milk Chocolate Chips and melted it in a double broiler over the stove...YUMMM)


1. Take out a mini muffin pan with 24 cups and set aside. For the pastry, mix the butter, vanilla, and powdered sugar using an electric/stand mixer until fluffy.


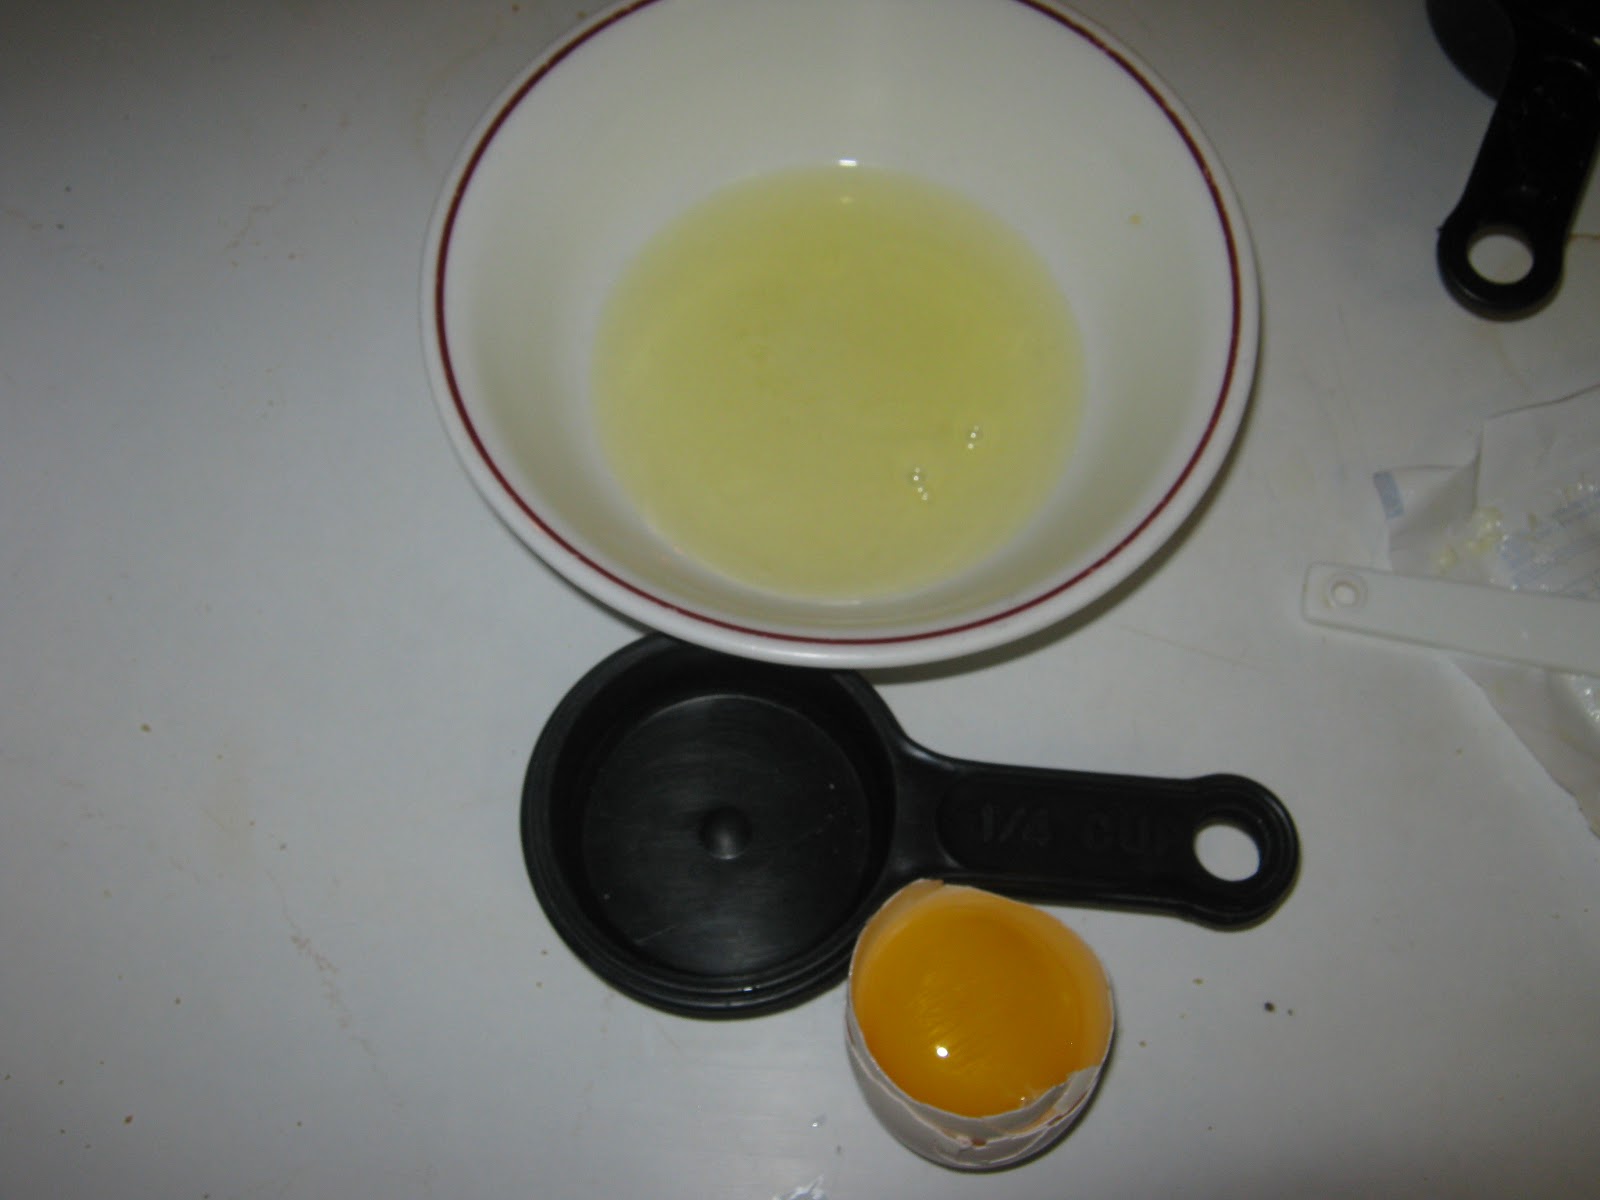
2. Next, take an egg and separate the egg yolk from the egg whites. Put aside the egg white to use later for the filling.


3. Take the egg yolk and beat it into the pastry mixture.

4. Fold in the baking powder and cake flour to make a soft dough. After using 1 cup of flour, keep adding flour 1 or 2 tbsp at a time until you reach the right consistency of dough. (Read the intro of this post to get a better idea.)

5. Roll out the dough 4 mm thick, cut into rounds (at least 2-2 and half inches in diameter), and place them VERY GENTLY into the mini muffin cups. Don't press the rounds into the cups too hard or the dough will break. Gently press the top edges down.


6. For the filling, whisk the egg white until stiff. Then add sugar and whisk until it's dissolved. Fold in the cocoa, butter, and chopped pecans.


7. Take the filling, and fill the tarts in the muffin cups. Optional: Place half a pecan on top for decoration.


8. Preheat the oven at 350 degrees F, and then bake the tarts for about 10 minutes.


9. When the tarts are cool, drizzle the tops with melted chocolate. (I used a pastry big and round tip...take the pastry bag, drop in the round tip, fill the pastry bag with the melted chocolate, and squeeze gently!)