Monday, November 29, 2010

Chocolate Espresso Swirl Cheesecake

For coffee and chocolate lovers - here's a rich and creamy cheesecake with a hint of espresso and chocolate swirled into the filling, and a crispy Oreo crust.

I decided to make this cheesecake because I was really sick of making my original "Cappuccino" flavored one over and over again for my brother who loves it to death. I finally put my foot down and discovered this recipe in my new cheesecake book 125 Best Cheesecake Recipes. It's the original with a chocolate twist (makes it kind of new in my opinion). Everyone loved it, and since I think they were so sick of the original, decided this was their new favorite! To make it extra yummy, I went ahead and drizzled some chocolate syrup and topped it with whipped cream. (To make it even more rich and delicious, I suggest you make chocolate ganache instead of using chocolate syrup. I however didn't have the time or energy to make it this time. And to make it more flavorful, you can also sprinkle a little bit of cinnamon.)


Ingredients:
Crust -
  • 30 Oreo cookies
  • 1/4 cup (1/2 stick) unsalted butter, melted
Filling -
  • 4 packages (8 oz each) cream cheese, softened
  • 1 1/2 cups granulated sugar
  • 1/2 cup sour cream
  • 4 eggs
  • 1 tbsp instant coffee powder
  • 1 tbsp hot water
  • 1 tsp vanilla
  • 3 oz bittersweet/semisweet chocolate, melted and cooled

1. Preheat the oven to 350 degrees F. Use a 9-inch cheesecake/springform pan with 3-inch sides. For the crust, in a medium bowl, combine cookie crumbs (use a food processor to crush the Oreo cookies into fine crumbs) and butter. Press into the bottom of the cheesecake pan and freeze.

2. For the filling, in a large mixing bowl using a mixer, beat cream cheese and sugar on medium-high speed for about 3 minutes. Add sour cream. Add eggs, one at a time, beating after each addition. 


3. In a small bowl, dissolve coffee powder in hot water. While the mixer is running, pour coffee in a steady stream into the batter. Add the vanilla, then stir 1 cup of the batter into the melted chocolate (make sure it's cooled!) and set aside.Pour remaining batter over frozen crust.


4. Using a spoon, drop puddles of the melted chocolate mixture on top of the batter. Using a small knife, drag through the puddles in spiral motions to create a marbled effect. 


5. Bake the cheesecake in a preheated oven for about 45-55 minutes, or until the top is light brown and the center has a slight jiggle to it. Cool on a rack for about 2 hours. Cover with a plastic wrap and refrigerate for at least 6 hours before decorating or serving.

Note: Personally, I have found that baking a cheesecake in a water bath makes for a better cheesecake. Before placing the cheesecake to bake in the oven, boil a pot of water. Place the cheesecake in a pan and fill the boiling water about 1/2-1 inch high, then put the cheesecake to bake in the oven. When the cheesecake is done, pull open the oven door and let the cheesecake sit in its water bath for at least 30-60 minutes. Then take out the cheesecake to cool completely before refrigerating.


Wednesday, November 24, 2010

Red Velvet Cake

I love to make cakes...but it takes a lot of motivation for me to make a cake simply because I think it's too much work to decorate and put it together. However, I got a brand new steel icing spatula and I couldn't wait to use it when putting on the icing (the icing spatula was amazing - it was the first time I felt satisfied with my icing job!).

When I felt like making a cake one day not too long ago, it didn't take long for me to decide it would be Red Velvet since it's something that people are always talking about and I never tried it. I wanted to see what all the hype was about. I have to admit, the first thing that attracted me to it was the deep red hue which contrasts brightly with the bright, white, rich cream cheese frosting.

So how did I feel about the cake? I didn't think it was worth so much of the effort I put into making it, not to mention I used up almost two whole bottles of red food coloring!!! Keep in mind that there are SO many recipes out there for this cake, and the recipe I used was a combination of several recipes. It didn't turn out so moist as I would have liked and the texture turned out pretty crumbly. (In my opinion, cakes should have a moist texture with tight crumbs.) Having said that, it was edible and my little 10 year old brother ate 3/4 of the entire cake, so at least someone really liked it. The recipe below is not the recipe which I used, but feel free to use it if you like. Here's the link: Red Velvet Cake Recipe. The pictures are all mine however =)


Ingredients:
  • 2 1/2cups (250 grams) sifted cake flour
  • 1/2 teaspoon salt
  • 2 tablespoons (15 grams) regular or Dutch-processed cocoa powder
  • 1/2 cup (113 grams) unsalted butter, at room temperature
  • 1 1/2 cups (300 grams) granulated white sugar
  • 2 large eggs
  • 1 teaspoon pure vanilla extract
  • 1 cup (240 ml) buttermilk
  • 2 tablespoons liquid red food coloring
  • 1 teaspoon white distilled vinegar
  • 1 teaspoon baking soda

    For the frosting, see step 9. 
     
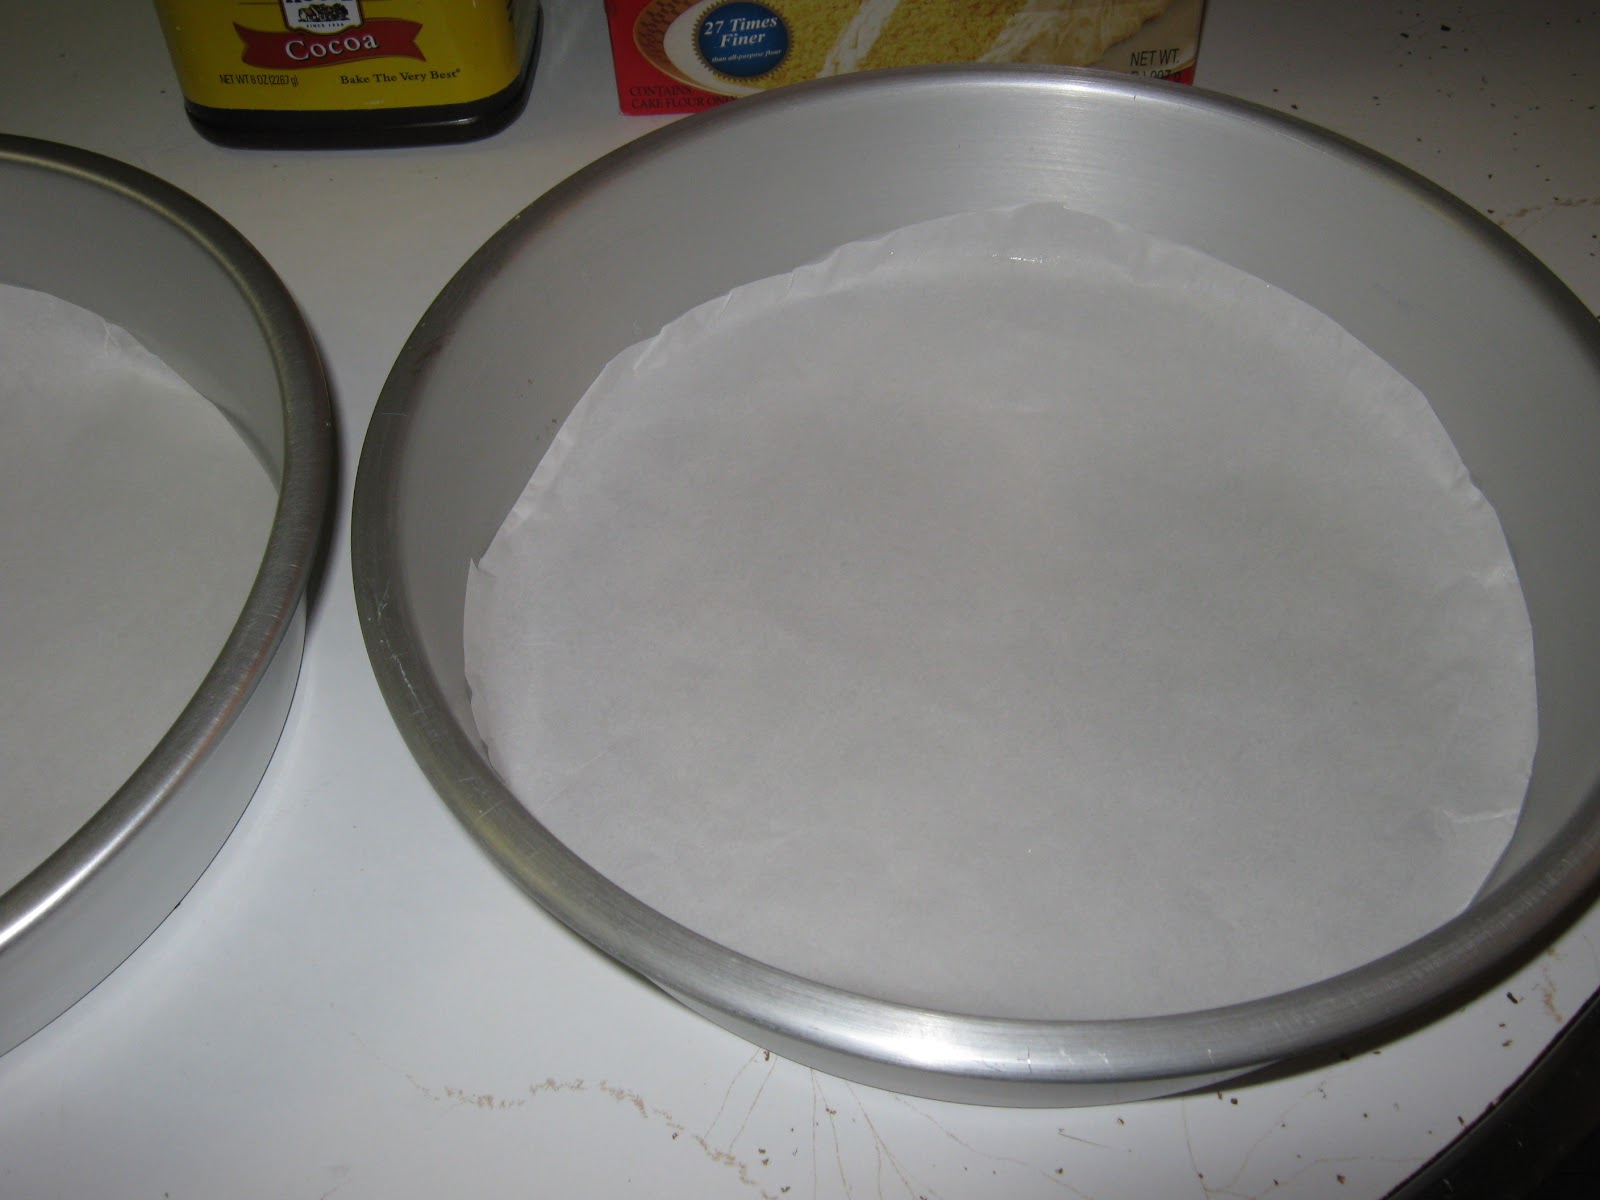
1. Preheat oven to 350 degrees F (175 degrees C) and place rack in center of oven. Butter two - 9 inch (23 cm) round cake pans and line the bottoms of the pans with parchment paper. Set aside.


2. In a mixing bowl sift together the flour, salt, and cocoa powder. Set aside.


3. In bowl of your electric mixer, or with a hand mixer, beat the butter until soft (about 1-2 minutes). Add the sugar and beat until light and fluffy (about 2-3 minutes). Add the eggs, one at a time, beating well after each addition.  


4. Scrape down the sides of the bowl. Add the vanilla extract and beat until combined.

5.  In a measuring cup whisk the buttermilk with the red food coloring. With the mixer on low speed, alternately add the flour mixture and buttermilk to the butter mixture, in three additions, beginning and ending with the flour.


6. In a small cup combine the vinegar and baking soda. Allow the mixture to fizz and then quickly fold into the cake batter. 


7. Working quickly, divide the batter evenly between the two prepared pans and smooth the tops with an offset spatula or the back of a spoon.


8. Bake in the preheated oven for approximately 25 - 30 minutes, or until a toothpick inserted in the center of the cakes comes out clean. Cool the cakes in their pans on a wire rack for 10 minutes. Place a wire rack on top of the cake pan and invert, lifting off the pan. Once the cakes have completely cooled, wrap in plastic and place the cake layers in the refrigerator for at least an hour (or overnight). (This is done to make filling and frosting the cakes easier.)


9. For the frosting, I used the following recipe -

Ingredients: 
  • 1 lb cream cheese (2 packages)
  • 2 cups icing sugar
  • 2 sticks unsalted butter (softened)
  • 1 tsp vanilla
  • 1 cup whipping cream

In a standing mixer fitted with the paddle attachment, or with a hand-held electric mixer in a large bowl, mix the cream cheese, sugar, and butter on low speed until incorporated. Slowly beat in the vanilla and then the cream, and mix until light and fluffy (or thick enough to spread). Store in the refrigerator until somewhat stiff, before using. Add sugar or cream as needed to get the right consistency.

10. To assemble the cake, with a serrated knife, cut each cake layer in half, horizontally. You will now have four cake layers. (Or you can just make a two layer cake and not slice each cake in half - just make sure you straighten the top of the cake if needed by slicing the top off - you can use the crumbs like I did to decorate the cake in the end.) Place one of the cake layers top down, onto your serving platter. Spread the cake layer with a layer of frosting. 


 Place another layer of cake on top of the frosting and continue to frost and stack the cake layers. Frost the top and sides of the cake. 


Garnish with cake crumbs or any other decoration you like. (I also used a piping bag and star-shaped tip to pipe designs with the frosting to make it look pretty.)


Sunday, November 21, 2010

Chunky Chewy Triple Chocolate Chip Cookies

I've always wanted to make the perfect chocolate chip cookie...to me, a cookie like that has to be exactly what the title of this post suggests...chunky, chewy, and soft. Whenever I made the chocolate chip cookie recipe from my Williams-Sonoma baking book, the cookies would turn crunchy and hard within 10 minutes. (Don't get me wrong - I love the book and it's the book that got me started.) However, this particular recipe I've started using not only produces soft and chewy cookies, but the cookies don't change their texture even after a couple of days.


I'd say right now this is my favorite chocolate chip cookie recipe, and I've only made a minor change to it. Instead of 2 cups of semisweet chocolate chips...I put 1 cup of semisweet, 1/2 cup white chocolate chips, and 1/2 cup milk chocolate chips. Hence the part of the title that says "triple chocolate chip." I would also suggest cutting back a little on the sugar because for some people these cookies might be a little on the sweet side. And lastly, a tip on making chocolate chip cookies - do NOT leave it in the oven a second longer than the suggested baking time because the cookies can get overdone very fast and it will completely change the taste and texture (causing the cookie to taste burnt and become hard). Here is the link from where I got the recipe: Best Big, Fat, Chewy Chocolate Chip Cookie. Enjoy =)

Thursday, November 18, 2010

Chocolate-Filled Coconut Cookies

A soft, moist cookie that kind of tastes like macaroons but has an extra kick because of the chocolate filling. It doesn't have a very strong coconut taste, but just enough to fulfill your coconut cravings! It's definitely a cookie worth making again. The recipe is from the book (which I've used for other recipes that I've previously posted on my blog) Cookies: 1,001 Mouthwatering Recipes From Around The World.
 

Ingredients:
  • 1 1/3 cups all-purpose flour
  • 1 tsp baking powder
  • 1/8 tsp salt
  • 3/4 cup butter, softened
  • 1/3 cup granulated sugar
  • 1/2 tsp vanilla
  • 1 large egg
  • 3 tbsp shredded coconut 

For choc filling:
  • 1 cup icing sugar
  • 1/4 cup butter, melted
  • 1 tbsp unsweetened cocoa powder
  
1. Preheat the oven to 300 degrees F; set out two cookie sheets; sift the flour, baking powder, and salt into a bowl.

2. Beat the butter, sugar, and vanilla in a large bowl with a mixer at medium speed until creamy; add the egg, beating until just blended. 

3. Mix in the dry ingredients; place the coconut in a bowl; roll teaspoons of the dough in the coconut and place 1 inch apart on the cookie sheets 


4. Bake for 18-20 minutes, or until lightly browned, rotating the sheets halfway through for even baking. Transfer to racks to cool. 
 

5. Chocolate filling: Beat the icing sugar and melted butter in a bowl; mix in the cocoa powder; stick the cookies together in pairs with the chocolate filling.

Tuesday, September 7, 2010

Yoyo Cookies

So, I don't make biscuits or cookies that often even though they are usually the easiest things to bake. I always try to go for the more ambitious recipes and sometimes I'm successful and sometimes I just simply FAIL. But there are times when you just want to eat something simple but delicious. So I just want to mention a couple of things. First, this recipe is from a new book I bought recently (yea, I like to splurge on baking books much to the annoyance of my parents). I love to find books out there that have cool recipes but recipes that I, as a homebaker, can find manageable. The book is called The Golden Book of Baking: Over 300 Great Recipes.
The first thing that caught me as I was browsing through the baking books in Borders was the beautiful cover and the thickness of the book. It is pretty damn thick because it is FULL of recipes. Also what I love about this book is that it has some English recipes that I don't usually find in baking books in the U.S. And it just has A LOT of interesting recipes period. Anyway, the first section is all about the cookies and biscuits, and one of the first recipes in the section is this Yoyo cookie. That brings me to the second thing I want to talk about. This cookie may not look so cool or creative, but it tastes AMAZING. Let me tell you, it's not always about the looks. My brother literally devoured them, and they literally melt in your mouth as soon as you start chewing. Most importantly, they taste so yummy...kind of like custard creams (an English cookie), especially with the vanilla buttercream filling. I believe the awesome texture and taste comes from a wonderful creation called custard powder, which is one of the key ingredients in this recipe.


Ingredients:

Cookies-
  • 3/4 cup butter, softened
  • 1/3 cup confectioner's/icing sugar
  • 1/2 tsp vanilla
  • 1 1/2 cups all-purpose flour
  • 1 tsp baking powder
  • 1/3 cup custard powder
Vanilla Butter Filling
  • 1/4 cup butter, softened
  • 1/2 cup confectioner's/icing sugar
  • 1/8 tsp vanilla
  • 2 tbsp custard powder
1. For the cookies, preheat the oven to 350 degrees F. Line two large cookie sheets with parchment paper.

2. Beat the butter, sugar, and vanilla using a mixer on medium-high speed until pale and creamy.


3. Combine the flour, baking powder, and custard powder in a medium bowl.


4. With the mixer on low speed, gradually beat into the butter mixture until well incorporated.

5. Roll thirty small balls and place on the prepared cookie sheets, spacing 1 inch apart. Flatten slightly with the back of fork to create a pattern.


6. Bake for 15-20 minutes, or until firm and light golden brown.


Note: When making cookies and biscuits, (I've learned the hard way) it's best to keep checking on them in the oven a few minutes before it's time to take them out because if they get even a little overdone, it can give it a burnt taste and ruin the cookie. As soon as they look done, take them out. They should be LIGHT golden - don't wait till they start getting browned!

7. Let cool on the cookie sheets for a few minutes, then transfer to a rack and let cool completely.

8. For the filling, beat all of the filling ingredients using a mixer on medium-high speed until pale and creamy.

9. Turn half of the cooled cookies over flat-side up and spread the filling evenly over the top. Place the remaining cookies on top and gently sandwich together.


Note: If you want to jazz up these cookies, you can always color the buttercream filling with your choice of food coloring and put some sugary colored sprinkles on top before you pop the cookies in the oven. Enjoy :)

Saturday, July 31, 2010

Pina Colada Cheesecake

Anyone who knows me probably knows I'm a big fan of making cheesecakes. After always making the same old flavors, I decided it was time for me to try something new. As the end of summer is drawing near, what better way to celebrate the remaining hot and sunny days than making and enjoying something tropical and fruity? I'll be honest...I was also dying to try a recipe from my brand new cheesecake book: 125 Best Cheesecake Recipes by George Geary. I was so nervous that it was going to turn out horribly wrong, but this cheesecake turned out to be one of my best - smooth, rich, and creamy texture with just the right amount of pineapple and coconut flavor. The whipped cream and toasted coconut flakes added an attractive finishing touch, and the crust had an extra kick with the coconut.


*Preheat the oven to 350 degrees F.
*Prepare a 9-inch springform or cheesecake pan. (If using a springform pan, it should be greased.)

Ingredients:

Crust -
  • 1 1/4 cups graham cracker crumbs
  • 1/2 cup flaked coconut
  • 3 tbsp unsalted butter, melted
 Filling -
  • 1 can pineapple, diced
  • 3 tbsp packed light brown sugar
  • 4 packages (8 oz each) cream cheese, softened
  • 1 1/4 cups granulated sugar
  • 1/4 cup all-purpose flour
  • 4 eggs
  • 1/2 cup coconut milk
  • 2 tsp vanilla
Decoration -
  • 1 cup classic whipped cream topping (see recipe below)
  • 1/4 flaked coconut, toasted (see tip below)
1. For the crust, in a bowl, combine the graham cracker crumbs, coconut, and butter. Press into cheesecake pan and freeze.


2. For the filling, in a saucepan on medium heat, cook the pineapple and brown sugar until soft and syrupy, about 3 minutes. Let it sit for 10 minutes, then drain, discarding the syrup.


3. In a large bowl using a mixer, beat the cream cheese, sugar, and flour on medium-high for 3 minutes.

4. Add the eggs, one at a time, beating well after each addition.

5. Mix in the coconut milk and vanilla.


6. Pour half of the batter into the frozen crust, then arrange the pineapple mixture on top. Pour the remaining batter over the pineapple mixture.


7. Bake the cheesecake for 50-60 minutes, or until the top is light brown. (Don't worry if it's jiggly - it will firm up as it cools.)


8. Cool for 2 hours, then cover with a plastic wrap and refrigerate for at least 6 hours before decorating or serving.

9. For the decoration, ice the top of the cake with the whipped cream by using a piping cone fitted with the appropriate piping tip if desired. Sprinkle with toasted coconut.


* To make the whipped cream topping, take 1/2 cup of whipping cream and 2 tbsp of granulated sugar. (If you like, add a few drops of vanilla to give flavor.) In a well-chilled bowl with well-chilled beaters, whip the well-chilled whipping cream on medium-high speed until soft peaks form. With the mixer still running, sprinkle sugar into the cream and continue whipping until firm peaks form. Use directly or refrigerate.

* To toast the coconut, spread the coconut in a single layer on a cookie sheet lined with foil. Bake in a preheated oven at 350 degrees F for about 3 minutes. Stir the coconut and keep checking on it frequently. Repeat for another 3 minutes or bake until coconut is lightly browned. (Be really careful since coconut can get toasted very quickly. If it is not stirred and checked on frequently, it will burn!)

Tuesday, April 6, 2010

Lemon Bars

This recipe is one I've been meaning to make for a very long time. It all started when my dad brought home some lemon bars that he bought at work from a co-worker. After he got a new job, he wasn't able to buy the bars anymore. Since then, he has repeatedly asked me to make them for him. So finally, I got myself to make these bars to make my dad happy.

At first, I attempted to make Meyer Lemon Squares from my beloved book Williams-Sonoma Essentials of Baking. For the first time, I am very sad to say, the book failed me. I literally had to throw out the whole pan of squares. Let me clarify - it wasn't that I messed up. In fact, the bars looked pretty good and I followed everything correctly. But the lemon curd tasted so horrible with its raw egg-like aftertaste (probably due to the many eggs the recipe contains). To say the least, I was pretty angry and disappointed because it was a lot of work making that nasty lemon curd.

Now my personality is such, that I hate to give up. If something goes wrong, I am determined to make it right. And so I looked for another recipe. I looked in my other books and I even looked online. Ultimately, I decided on a recipe from my new favorite book, Cookies: 1,001 Mouthwatering Recipes from Around the World. I was not disappointed! My whole family (including me) LOVED the lemon bars. And best of all, they are pretty easy to make.

The crust is DELICIOUS with the taste of buttery shortbread, and the creamy filling has just the right amount of lemon flavor. The perfect dessert for spring!


Ingredients:
  • 1 1/4 cups all-purpose flour
  • 1/3 cup confectioners'/icing sugar
  • 1/8 tsp salt
  • 1/2 cup (1 stick) cold butter, cut up
Filling-
  •  1/3 cup all-purpose flour
  • 1/2 tsp baking powder
  • 4 large eggs
  • 1 1/2 cup powdered sugar
  • Grated zest and juice from 3 lemons
  • 2 tbsp confectioners'/icing sugar, to dust
1. Preheat the oven to 325 degrees F. Butter a 9-inch square baking pan.

2. Sift the flour, confectioners' sugar, and salt, and cut in the cold butter (use a food processor!) until the mixture resembles fine crumbs.


3. Firmly press the dough into the prepared pan. Bake for 15-20 minutes, or until lightly brown. Cool the base completely in the pan, and lower the oven temperature to 300 degrees F.


4. For the filling, sift the flour and baking powder into a bowl. Using a mixer, beat the egg and powdered sugar in another bowl at high speed until pale and thick.


5. Stir in the lemon juice and lemon zest. (Make sure to strain the lemon juice before pouring it in.) Add the dry ingredients and whisk until incorporated.


6. Pour the filling over the prepared base, and bake for 30-40 minutes, or until the filling is set but still a little wobbly in the center. (The mixture will continue to cook after it has been taken out of the oven.)


7. Cool completely in the pan, and dust with confectioners' sugar and cut into bars. (It will keep in the fridge for about 4 days, and makes about 16-25 bars.)